A Comprehensive Guide to DJI Drone Photography in 2026
Drone photography offers a perspective that ground-based photography simply cannot provide. From the air, familiar landscapes turn into patterns, textures, and relationships that are invisible at eye level. But strong drone photography is not just about altitude. It depends on the same foundations as any serious photographic discipline: light, timing, composition, restraint, and knowing what to include — and what to leave out. DJI remains the dominant name in consumer and prosumer drones because its aircraft combine dependable flight systems, mature software, and increasingly capable cameras across multiple price levels.
DJI Mavic 4 Pro: Flagship Aerial Camera
• Intended Users: Professional photographers and filmmakers
• Weight: Approximately 958 grams
• Flight Time: Up to 51 minutes
• Photographic Features: 100MP 4/3-inch Hasselblad main sensor, triple-camera array with 28mm / 70mm / 166mm fixed focal lengths, 6K/60fps HDR video, 360° rotating Infinity Gimbal, omnidirectional obstacle avoidance
The Mavic 4 Pro is DJI's current flagship consumer drone and the most serious photographic option in this guide. It combines a 100MP Hasselblad main camera with two additional tele cameras, up to 51 minutes of flight time, and DJI's rotating Infinity Gimbal. This is the drone for photographers who care about image quality first and want the broadest creative flexibility from the air. It is also the most expensive and the least casual option in the lineup.
DJI Air 3S: The Serious Enthusiast Choice
• Intended Users: Serious enthusiasts, travel photographers, and hybrid creators
• Weight: Approximately 723 grams
• Flight Time: Up to 45 minutes
• Photographic Features: 1-inch 50MP wide camera (f/1.8 fixed), 70mm medium tele camera (48MP), 4K/60fps HDR, LiDAR obstacle avoidance
The Air 3S is one of the most balanced drones in DJI's current lineup. Its 1-inch 50MP wide camera and 70mm medium tele give real compositional flexibility from the air. Flight time of up to 45 minutes is genuinely useful for extended sessions. For many photographers, this is the sweet spot — more serious than the smaller drones, but not as large or expensive as the Mavic 4 Pro.
Note that the Air 3S uses fixed-aperture lenses. Exposure control is managed through shutter speed, ISO, and ND filters — not aperture adjustment. This is standard for drones at this level, but worth understanding before you fly.
DJI Mini 5 Pro: Best Portable Travel Option
• Intended Users: Travel photographers and enthusiasts who want minimal size with maximum capability
• Weight: Under 249 grams
• Flight Time: Up to 37 minutes (up to 47 minutes with Intelligent Flight Battery Plus)
• Photographic Features: 1-inch 50MP sensor, ActiveTrack 360° enhanced, omnidirectional obstacle sensing including low-light, 42GB internal storage
The Mini 5 Pro pushes the sub-250g class significantly further than older Mini drones. DJI presents it with a 1-inch 50MP sensor, enhanced ActiveTrack 360°, internal storage, and improved obstacle sensing in low light. This makes it far more than a beginner drone. It is a serious travel tool for photographers who want to stay light without dropping to entry-level image quality.
DJI Flip: Compact and Practical, Not a Flagship Photo Tool
• Intended Users: Casual creators, social content users, and beginners who value safety and convenience
• Weight: Under 249 grams
• Flight Time: Up to 31 minutes
• Photographic Features: 1/1.3-inch sensor, 4K/60fps HDR, integrated full-coverage foldable prop guard, subject tracking
DJI Flip is a compact under-249g drone with an integrated propeller guard, solid tracking, and 4K HDR video. It is clever, approachable, and safer around people than most conventional drones. It is well suited for casual content creation and social media work. It is not the model to prioritize if demanding landscape image quality is the main goal.
DJI Neo 2: The Simplest Entry Point
• Intended Users: Beginners, casual users, and follow-me content creators
• Weight: 151 grams (without digital transceiver) / 160 grams (with transceiver)
• Flight Time: Approximately 19 minutes
• Photographic Features: 1/2-inch sensor, 4K/100fps video, 49GB internal storage, AI subject tracking, gesture controls
Neo 2 is DJI's smallest current option, built around simplicity and accessibility. It is useful as an easy flying camera, but it is not a drone for demanding still image work. The sensor size and flight time both reflect its position as an entry-level product. Recommended as a first drone or a casual aerial camera, not as a primary photographic tool.
DJI Avata 2: Motion Over Stillness
• Intended Users: FPV enthusiasts and filmmakers who prioritize movement
• Weight: Approximately 377 grams
• Flight Time: Up to 23 minutes
• Photographic Features: 1/1.3-inch 12MP sensor, 4K/100fps video, immersive FPV goggles
The Avata 2 belongs in a clearly separate category from the other drones in this guide. It is not a conventional aerial stills platform. DJI positions it around immersive FPV flight and dynamic motion-driven footage. It is ideal for cinematic sequences that involve speed and movement, but it is not the natural choice for disciplined aerial landscape photography.
A Note on the DJI Mavic 2 Pro
I personally use the DJI Mavic 2 Pro, and it still deserves respect. Its 1-inch Hasselblad L1D-20c camera, 20MP stills, 10-bit Dlog-M 4K recording, Hyperlapse modes, and multi-directional obstacle sensing mean it remains capable of excellent aerial photography in the right conditions.
That said, it is now an older platform. It lacks the subject tracking, safety systems, and sensor advances of current DJI models. If you already own one, it is still worth using well. If you are buying a drone today with long-term growth in mind, newer DJI models offer meaningfully better safety systems, tracking, and image quality.
How Altitude Changes Composition
One of the most important things to understand about drone photography is that altitude is not just a technical variable — it is a compositional tool.
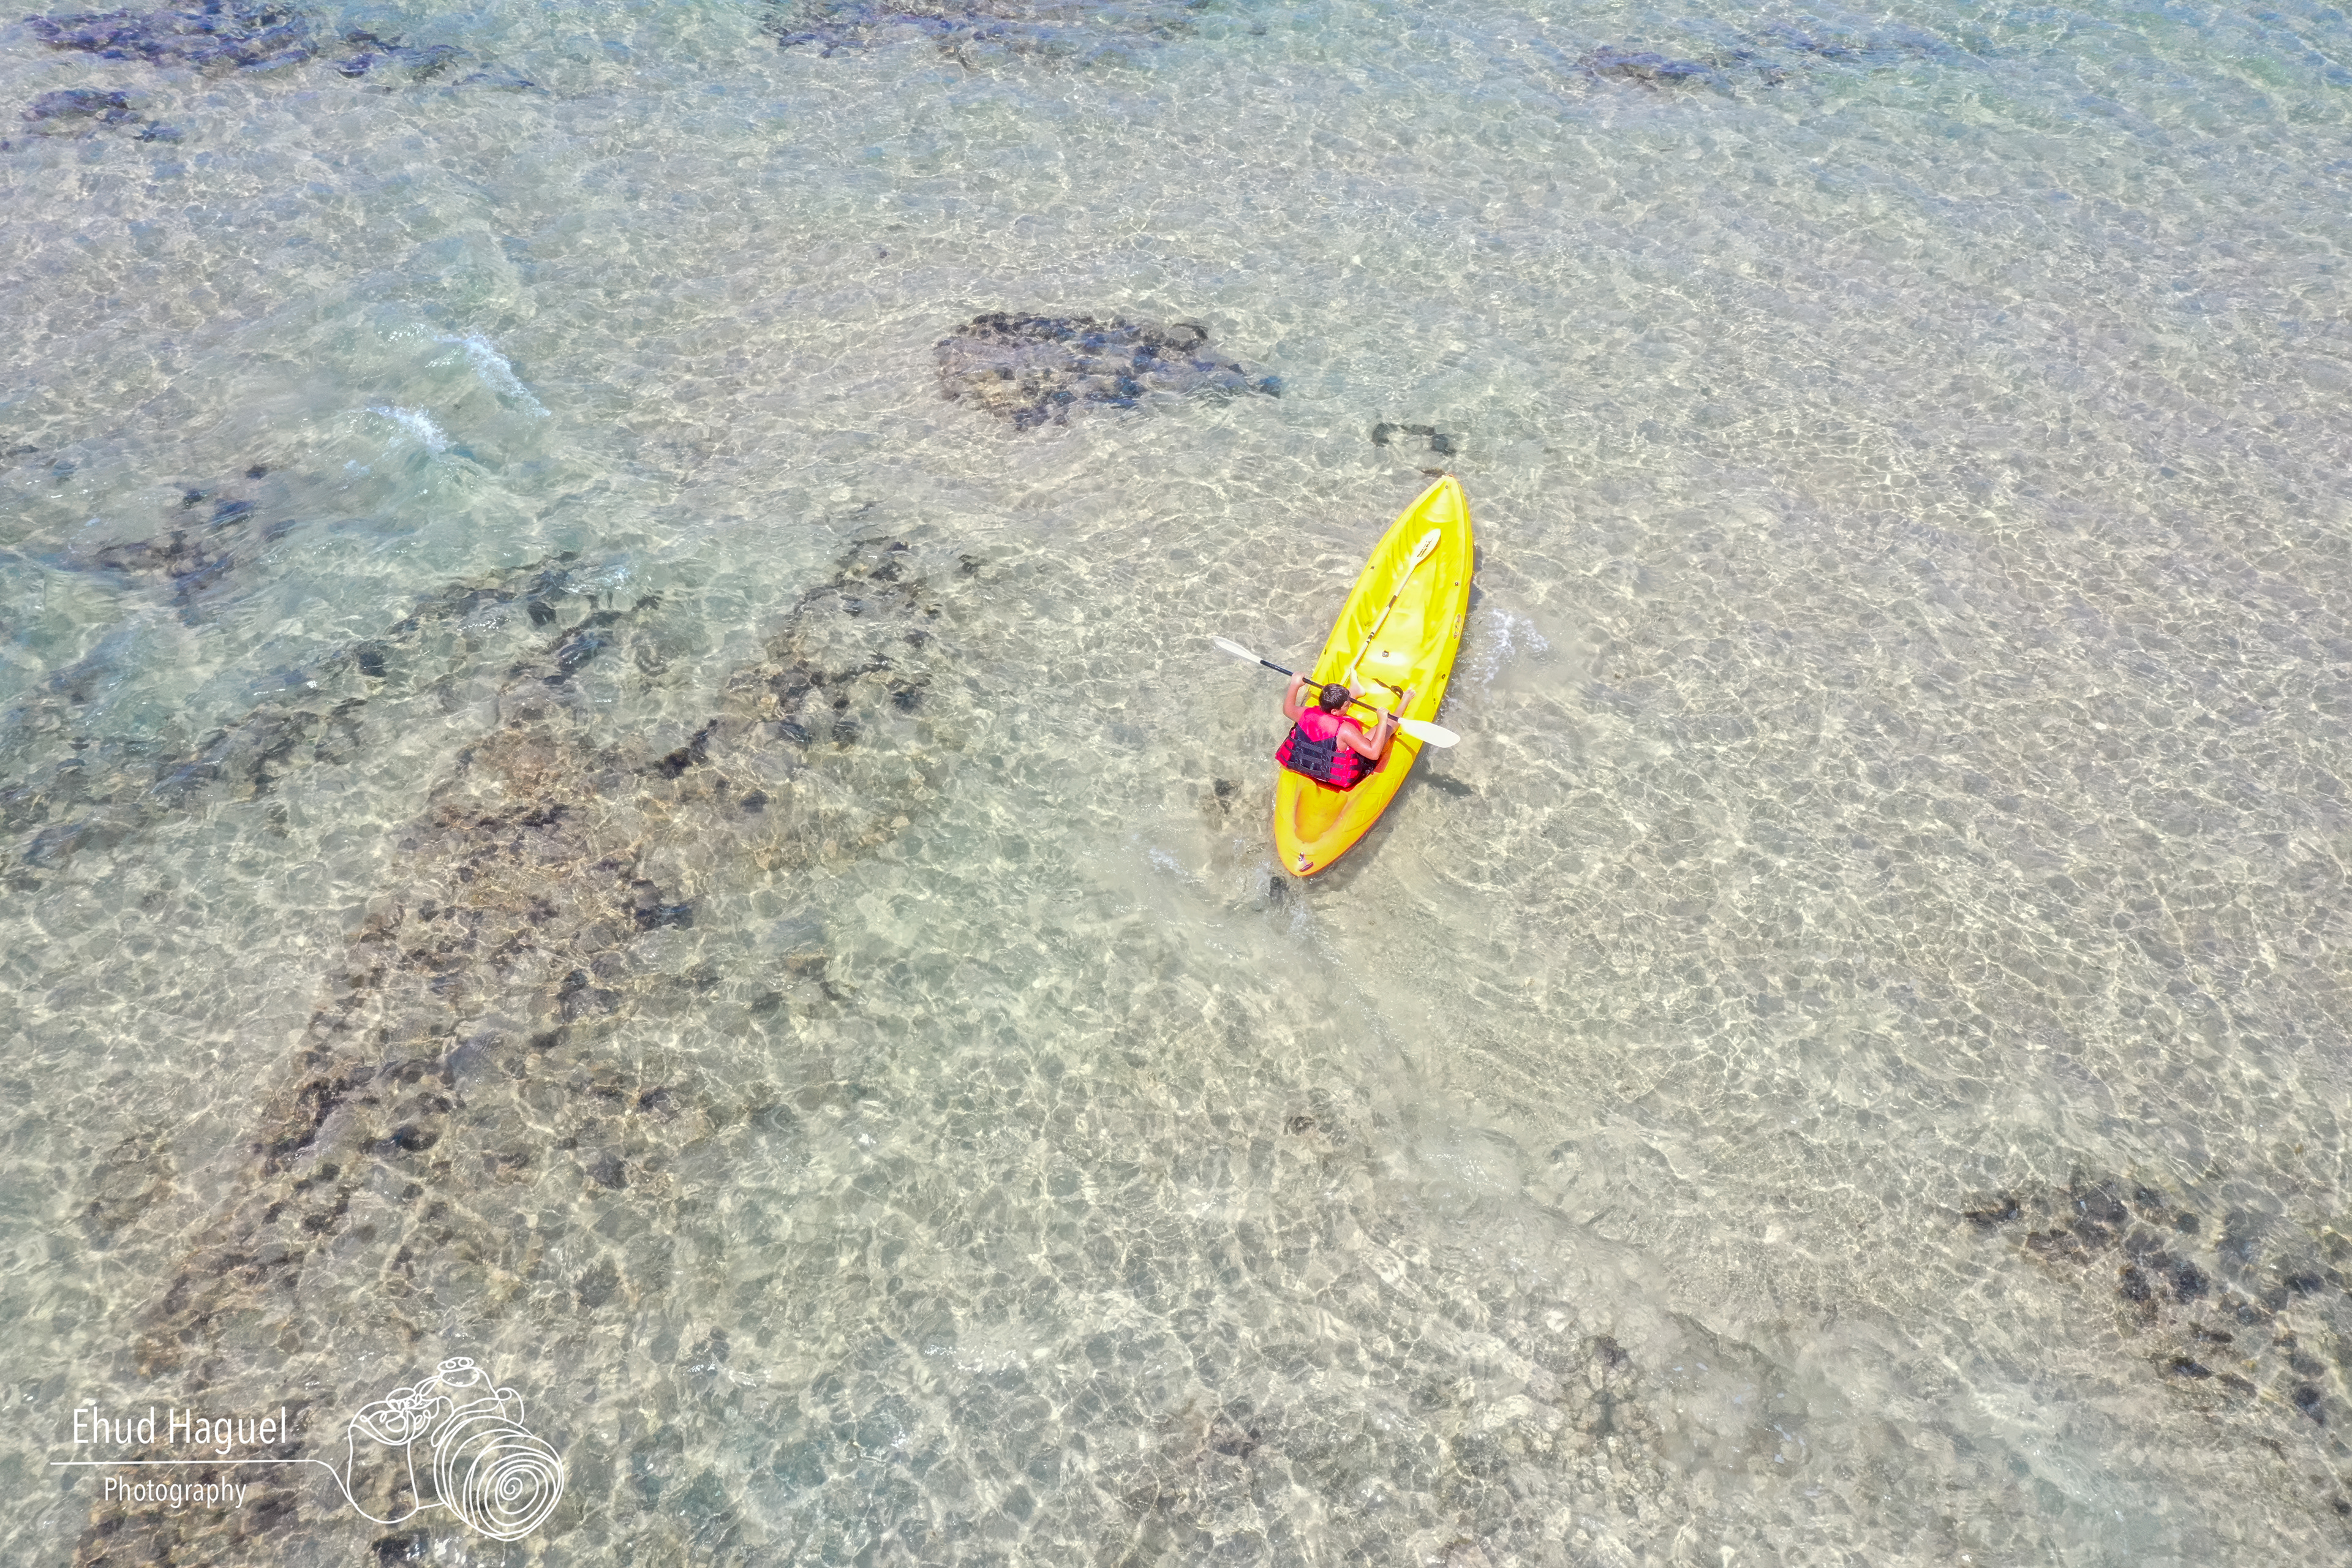
At low altitude — 10 to 30 meters — the relationship between the foreground and the background is similar to a high ground-level angle. Subjects retain scale, and the perspective still feels connected to the ground. This is often the most effective altitude for environmental subjects where context and scale matter.
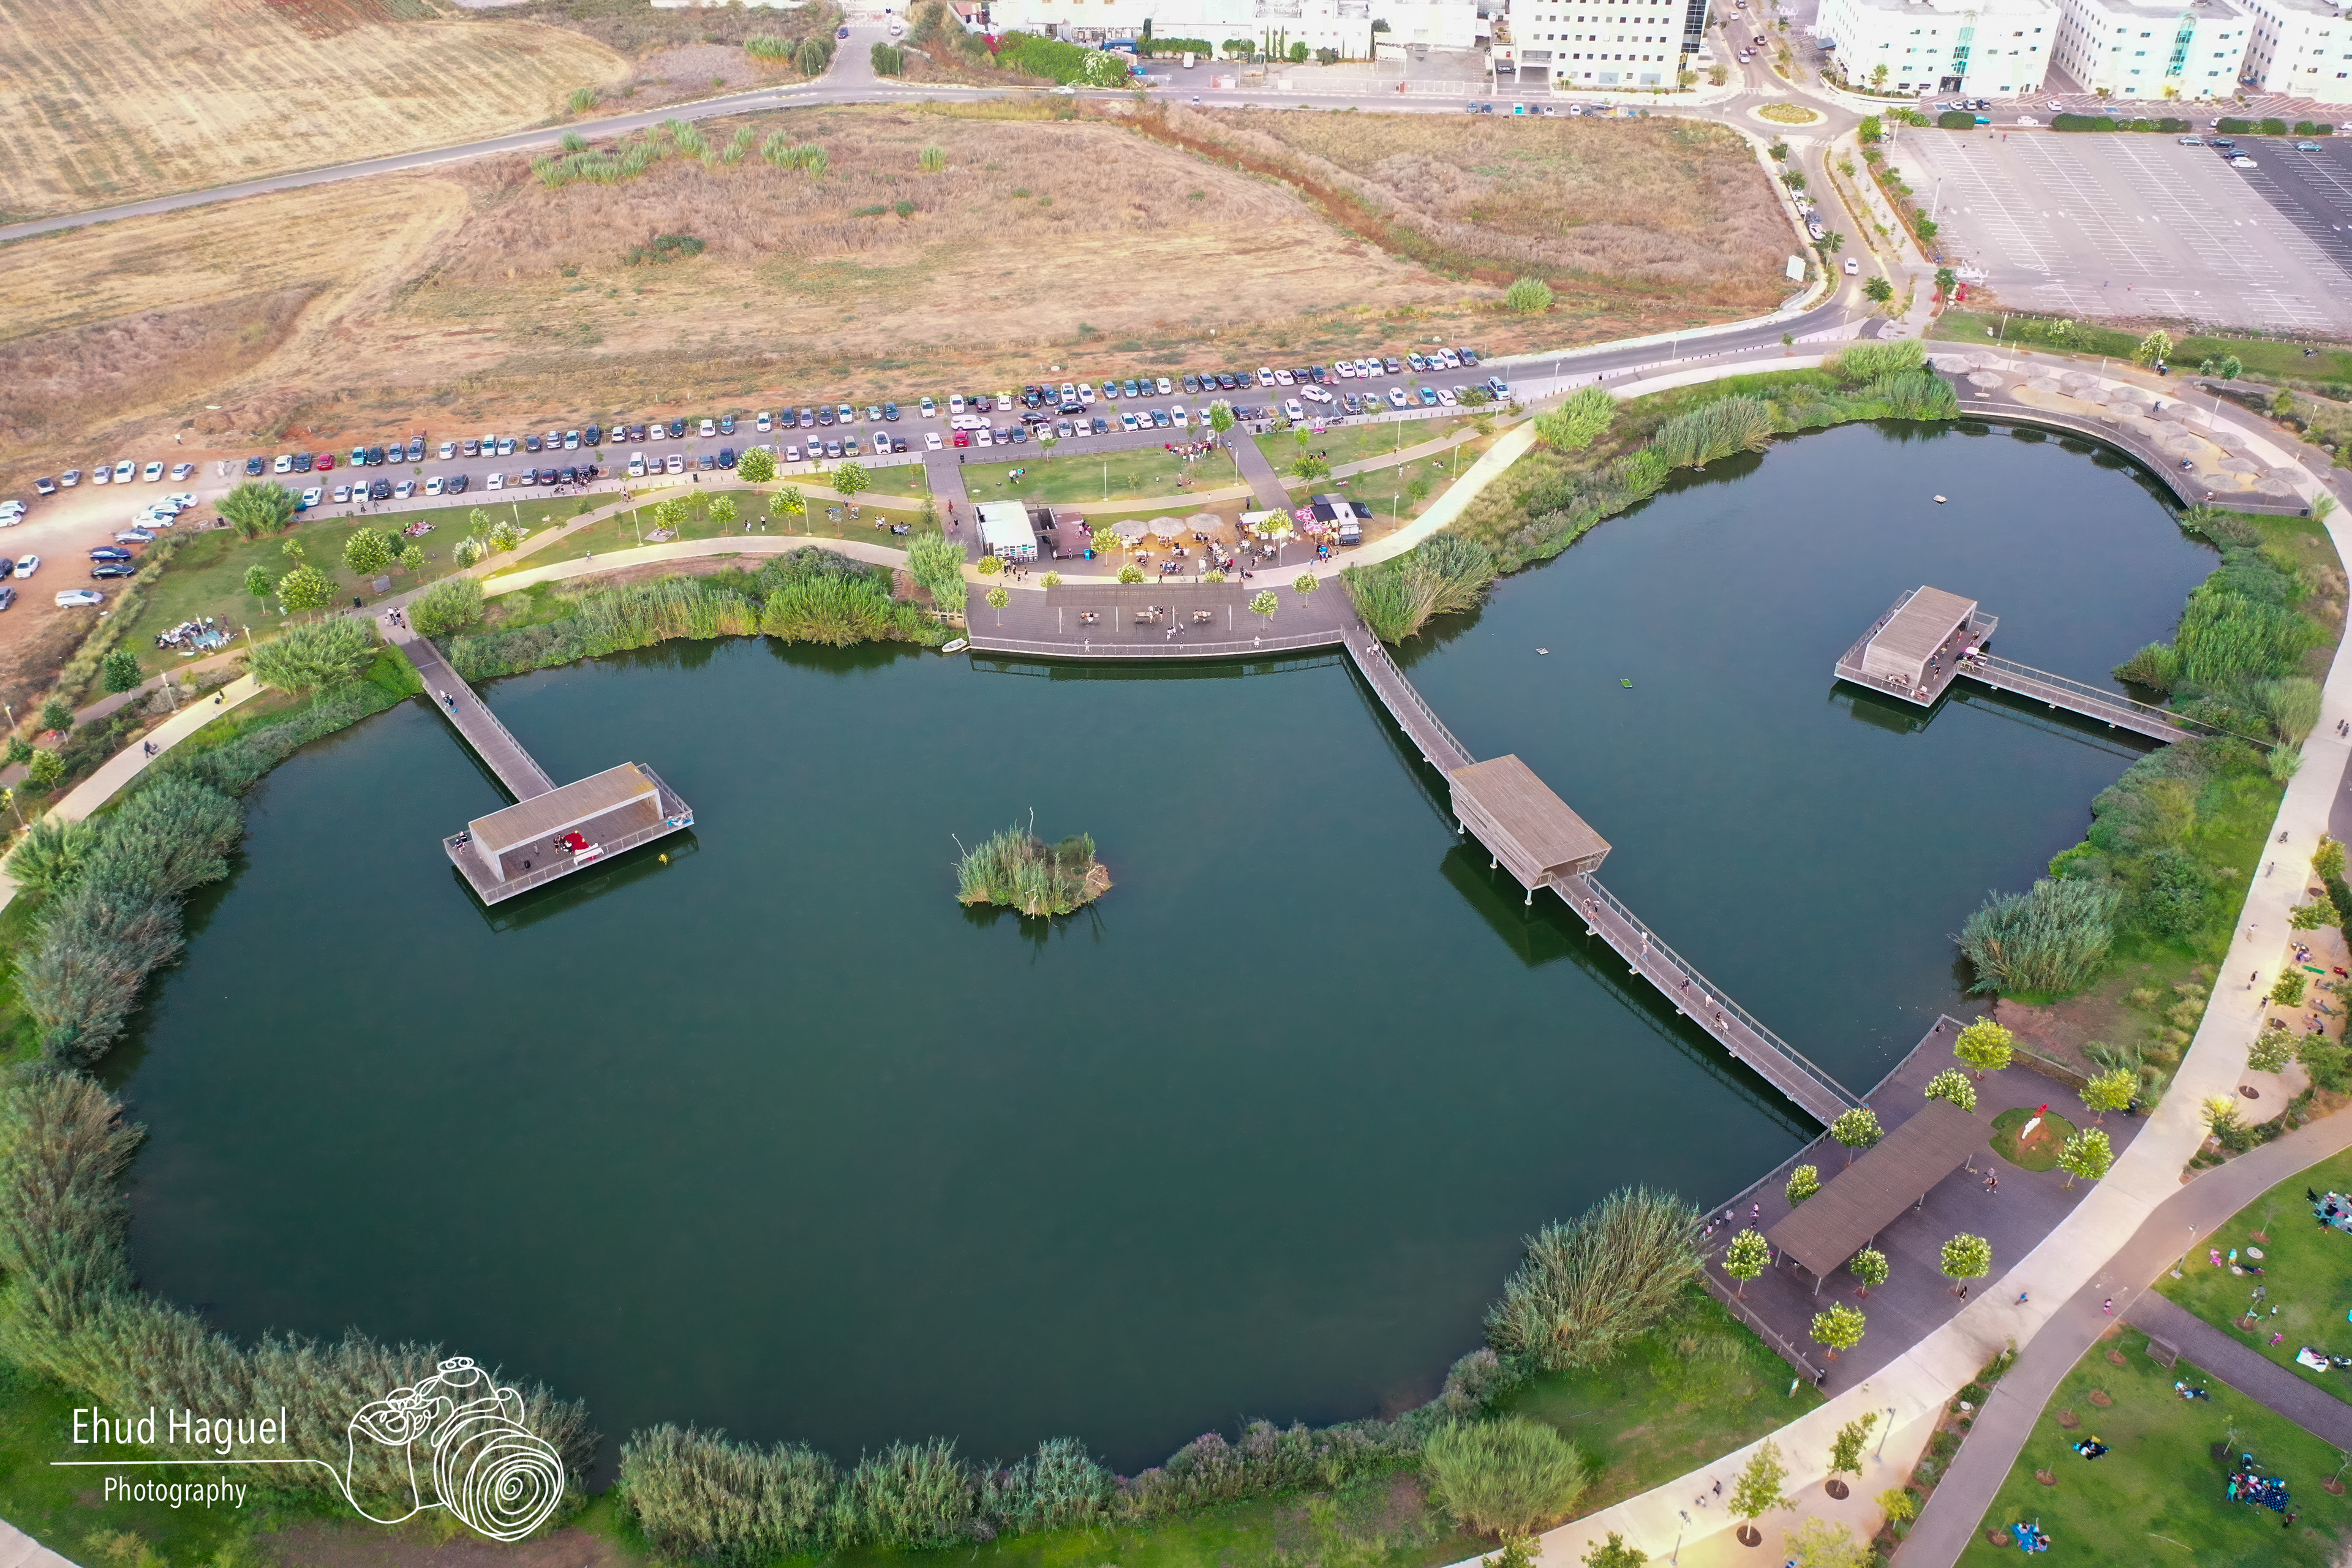
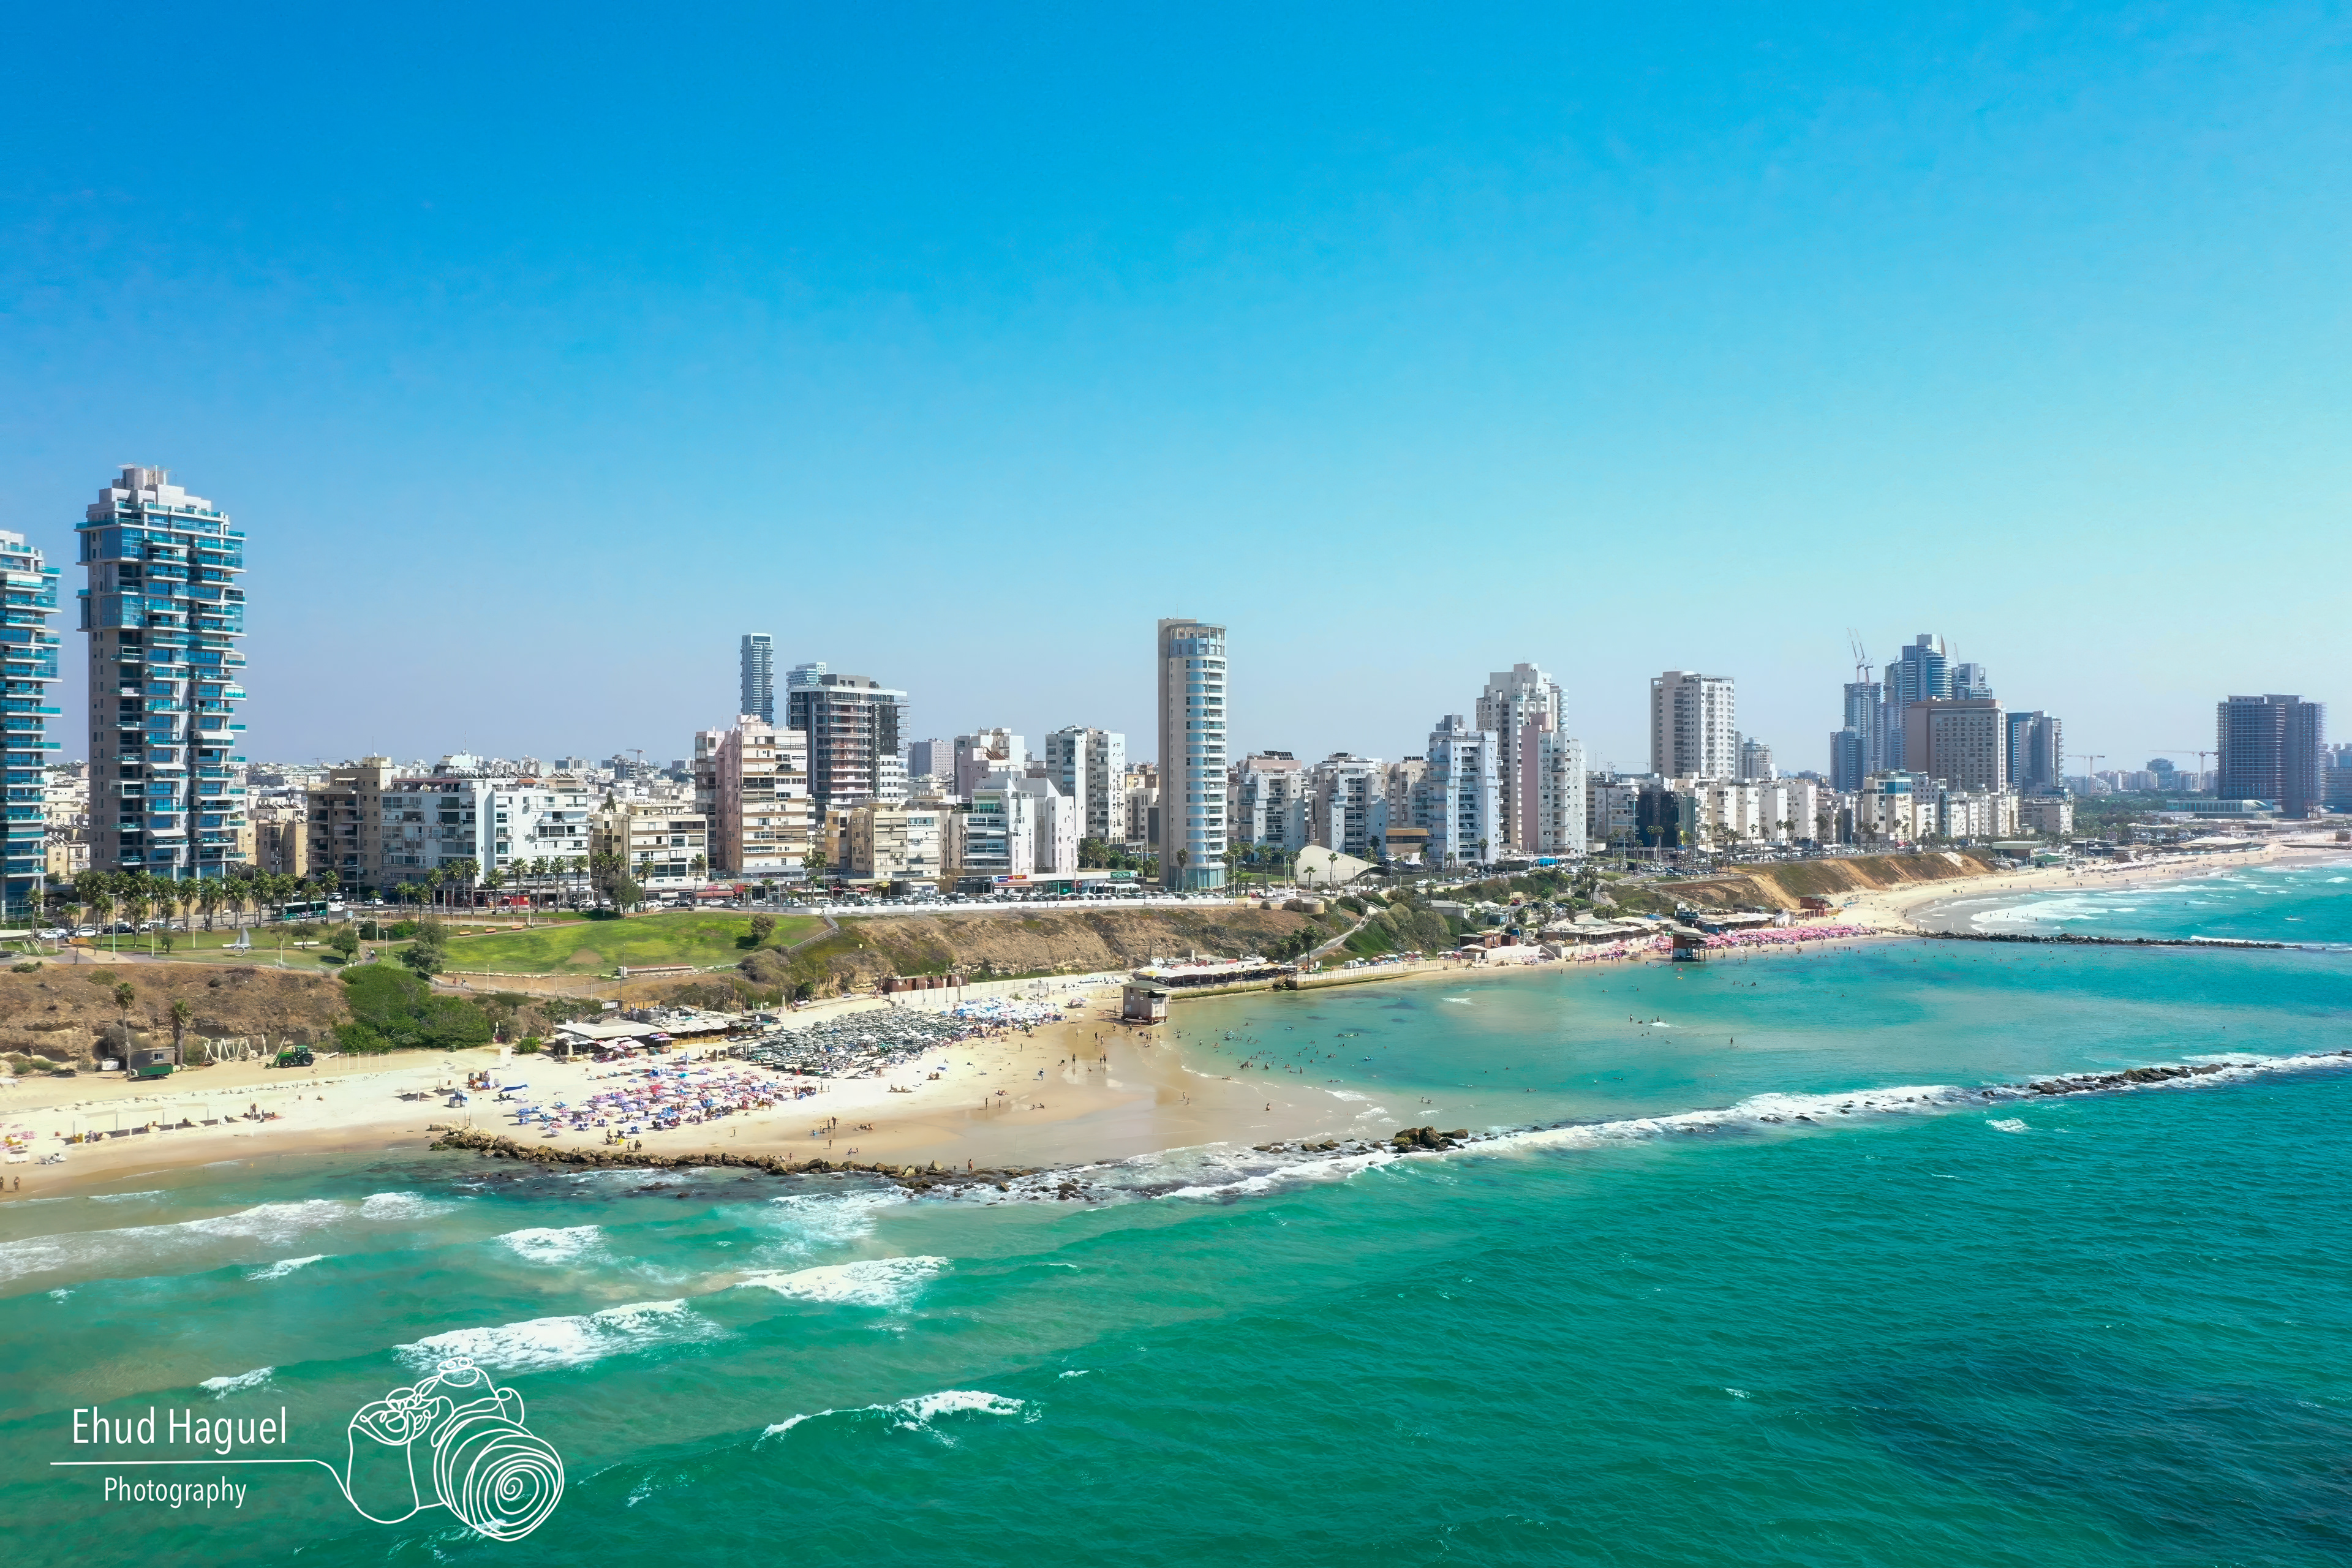
At medium altitude — 50 to 100 meters — the ground begins to abstract. Patterns in fields, roads, and coastlines become visible. Shadows lengthen at golden hour and give depth to flat terrain. This is where many strong aerial landscape images are made.
At high altitude — above 100 meters — the view becomes more graphic and detached. Scale disappears. This works well for geometric patterns, large-scale symmetry, and overhead nadir shots, but it can feel cold and empty without a strong compositional anchor.
The most useful habit is to vary altitude deliberately rather than defaulting to one height. Start at the altitude where the scene makes sense visually, then move up and down to see what changes.
What Subjects Actually Work Best from the Air
Not every subject benefits from an aerial angle. Understanding which subjects genuinely work from above — and which do not — saves time and improves results.
• Subjects that reward aerial photography: Coastlines, rivers, and water bodies that reveal shape and movement. Agricultural patterns — fields, vineyards, orchards — that create geometry invisible from the ground. Mountain ridges and valleys where the relationship between peaks and shadows only reads clearly from above. Urban grids, harbors, and infrastructure that become abstract patterns at altitude. Desert or arid landscapes where texture and scale are the subject.
• Subjects that rarely benefit: Dense forest interiors where the canopy obscures everything below. Wildlife photography in most cases — the altitude, noise, and distance make it very difficult to produce compelling images of individual animals. Portraits and intimate subjects that depend on human connection and proximity.
The rule of thumb: if the subject has a shape, pattern, or spatial relationship that is only legible from above, it is worth trying from the air. If the subject depends on proximity, emotion, or fine detail, ground-based photography almost always serves it better.
Recommended Photography Conditions and Settings
Golden hour remains the most forgiving and most rewarding time to shoot from the air. Low-angle light gives structure to terrain, separates ridges and fields, and makes water surfaces and coastlines feel dimensional rather than flat. Overcast conditions can also work well, especially when the scene relies on texture, shape, or minimalism rather than dramatic color. Midday light is usually the least flattering unless the subject is graphic, abstract, or strongly geometric.
For still photography, shutter speed matters more than many beginners assume. Even with a gimbal, the drone is moving, adjusting, and reacting to wind. A shutter speed around 1/500 to 1/1000 second is a practical starting point for sharp aerial stills, especially when flying rather than hovering. Shoot RAW wherever available.
On drones with fixed apertures — including the Air 3S and Mini 5 Pro — exposure is controlled through shutter speed, ISO, and ND filters. On older models like the Mavic 2 Pro, the Hasselblad sensor still gives useful flexibility, but current bodies handle noise, tracking, and workflow more confidently.
ND filters are most useful for video, where a restrained shutter speed produces smoother motion rendering. For still photography they are less essential unless the light is extreme. A polarizer can reduce glare over water, but polarization effects can become uneven from the air, especially across wide scenes.
Safety: Always follow local regulations. Respect no-fly zones. Check weather conditions before launch — wind is the primary risk factor for small drones. Never fly over people or crowds without explicit authorization.
Regulations and Local Restrictions
Drone regulations vary significantly by country — and sometimes by region, city, or airspace zone within the same country. Depending on where you fly, you may need operator registration, pilot competency or licensing, liability insurance, Remote ID compliance, or prior authorization for certain airspace. Height limits, no-fly zones, minimum distances from people, and restrictions near airports, government sites, or protected areas also vary.
Always check the official aviation authority and local rules for the exact place you plan to fly before takeoff. DJI's FlySafe system is useful as a reference, but it is advisory only and does not replace your responsibility to verify what is legally permitted.
Common Drone Photography Mistakes
• Defaulting to the same altitude every flight. Most photographers find a comfortable altitude and stay there. Varying altitude deliberately — low for context, medium for pattern, high for abstraction — produces more varied and stronger results.
• Flying in unflattering light. Midday flat light from directly above produces images that look like satellite maps. Golden hour is not a preference — it is the condition that makes aerial landscape photography work.
• Ignoring foreground and background relationships. From the air, it is easy to frame only what is directly below. Including a horizon, a coastline edge, or a transition between zones gives the image depth and a sense of place.
• Not using RAW. The dynamic range in aerial scenes — bright sky, dark shadow, reflective water — is often extreme. RAW capture preserves the information needed to manage that range in post. JPEG aerial images frequently clip highlights or block shadows in ways that cannot be recovered.
• Over-relying on subject tracking for creative shots. Automated tracking modes are useful for follow-me footage, but they rarely produce the strongest compositional results. The most compelling aerial images are usually made with full manual control, deliberate positioning, and a clear idea of what the shot is about before the drone takes off.
• Packing up immediately after the main light. As with ground-based landscape photography, some of the most interesting aerial light occurs just after the sun drops. Blue hour from the air, with city lights beginning to appear below a fading sky, is a compelling and underused condition.
Recommended Accessories for Drone Photography
• ND Filters — most useful for video, and occasionally helpful in very bright conditions for stills
• Extra Batteries — always carry at least two; flight time goes faster than expected
• Carrying Case — protects the drone during transport and keeps accessories organized
• Landing Pad — provides a clean takeoff and landing surface and protects the drone from dirt and debris
• Remote Controller Sunshade — reduces screen glare in bright outdoor conditions
Remote Controllers with Built-In Screens
For photographers who prefer a cleaner field workflow, DJI’s screen-based controllers are worth considering. The DJI RC 2 is a strong option for many current DJI drones and offers a practical all-in-one experience without relying on a phone. The DJI RC Pro is the more premium choice, with a brighter display and a more advanced control experience for photographers and filmmakers who spend more time working in the field. Phone-based controllers still make sense for value, but a dedicated screen controller is often the more practical option in real-world use.
For photographers who prefer a cleaner field workflow, DJI’s screen-based controllers are worth considering. The DJI RC 2 is a strong option for many current DJI drones and offers a practical all-in-one experience without relying on a phone. The DJI RC Pro is the more premium choice, with a brighter display and a more advanced control experience for photographers and filmmakers who spend more time working in the field. Phone-based controllers still make sense for value, but a dedicated screen controller is often the more practical option in real-world use.
Drone photography is a distinct discipline that rewards the same qualities that ground-based photography demands: patience, attention to light, compositional thinking, and practice. The aerial perspective is a tool — what you do with it determines whether the images are compelling or merely novel. Start with the conditions and subjects you already understand, then learn what the aerial angle reveals that you could not see from the ground.
For compositional thinking that applies equally in the air and on the ground, see The Art of Composition in Photography. For golden hour light and timing, see Art of Sunset Photography.
Leofoto Coupon Code: 12% Off with EH12
Use code EH12 at checkout on the Leofoto website to get 12% off Leofoto tripods, ball heads, monopods, and accessories. This Leofoto discount code is active and available to readers of this site.