Mastering Bird Photography: Flight, Anticipation, and Control Under Pressure
Bird photography at an advanced level is not primarily about equipment. It is about decision-making speed. When a bird takes off, you have a fraction of a second to commit to a tracking angle, manage the autofocus, and choose the right moment within a burst. The photographers who consistently produce strong flight images are not the ones with the fastest cameras — they are the ones who have spent enough time in the field that these decisions happen without conscious thought.
This guide focuses on the advanced layer: flight tracking, behavioral anticipation, autofocus strategy, and the field decisions that separate strong images from technically correct ones.
If you are looking for the foundational approach — equipment basics, behavior, light, and background control — see Bird Photography. This article picks up where that one leaves off.
I. Reading Behavior Before the Shot
The most important skill in advanced bird photography has nothing to do with camera settings. It is the ability to read what a bird is about to do before it does it.
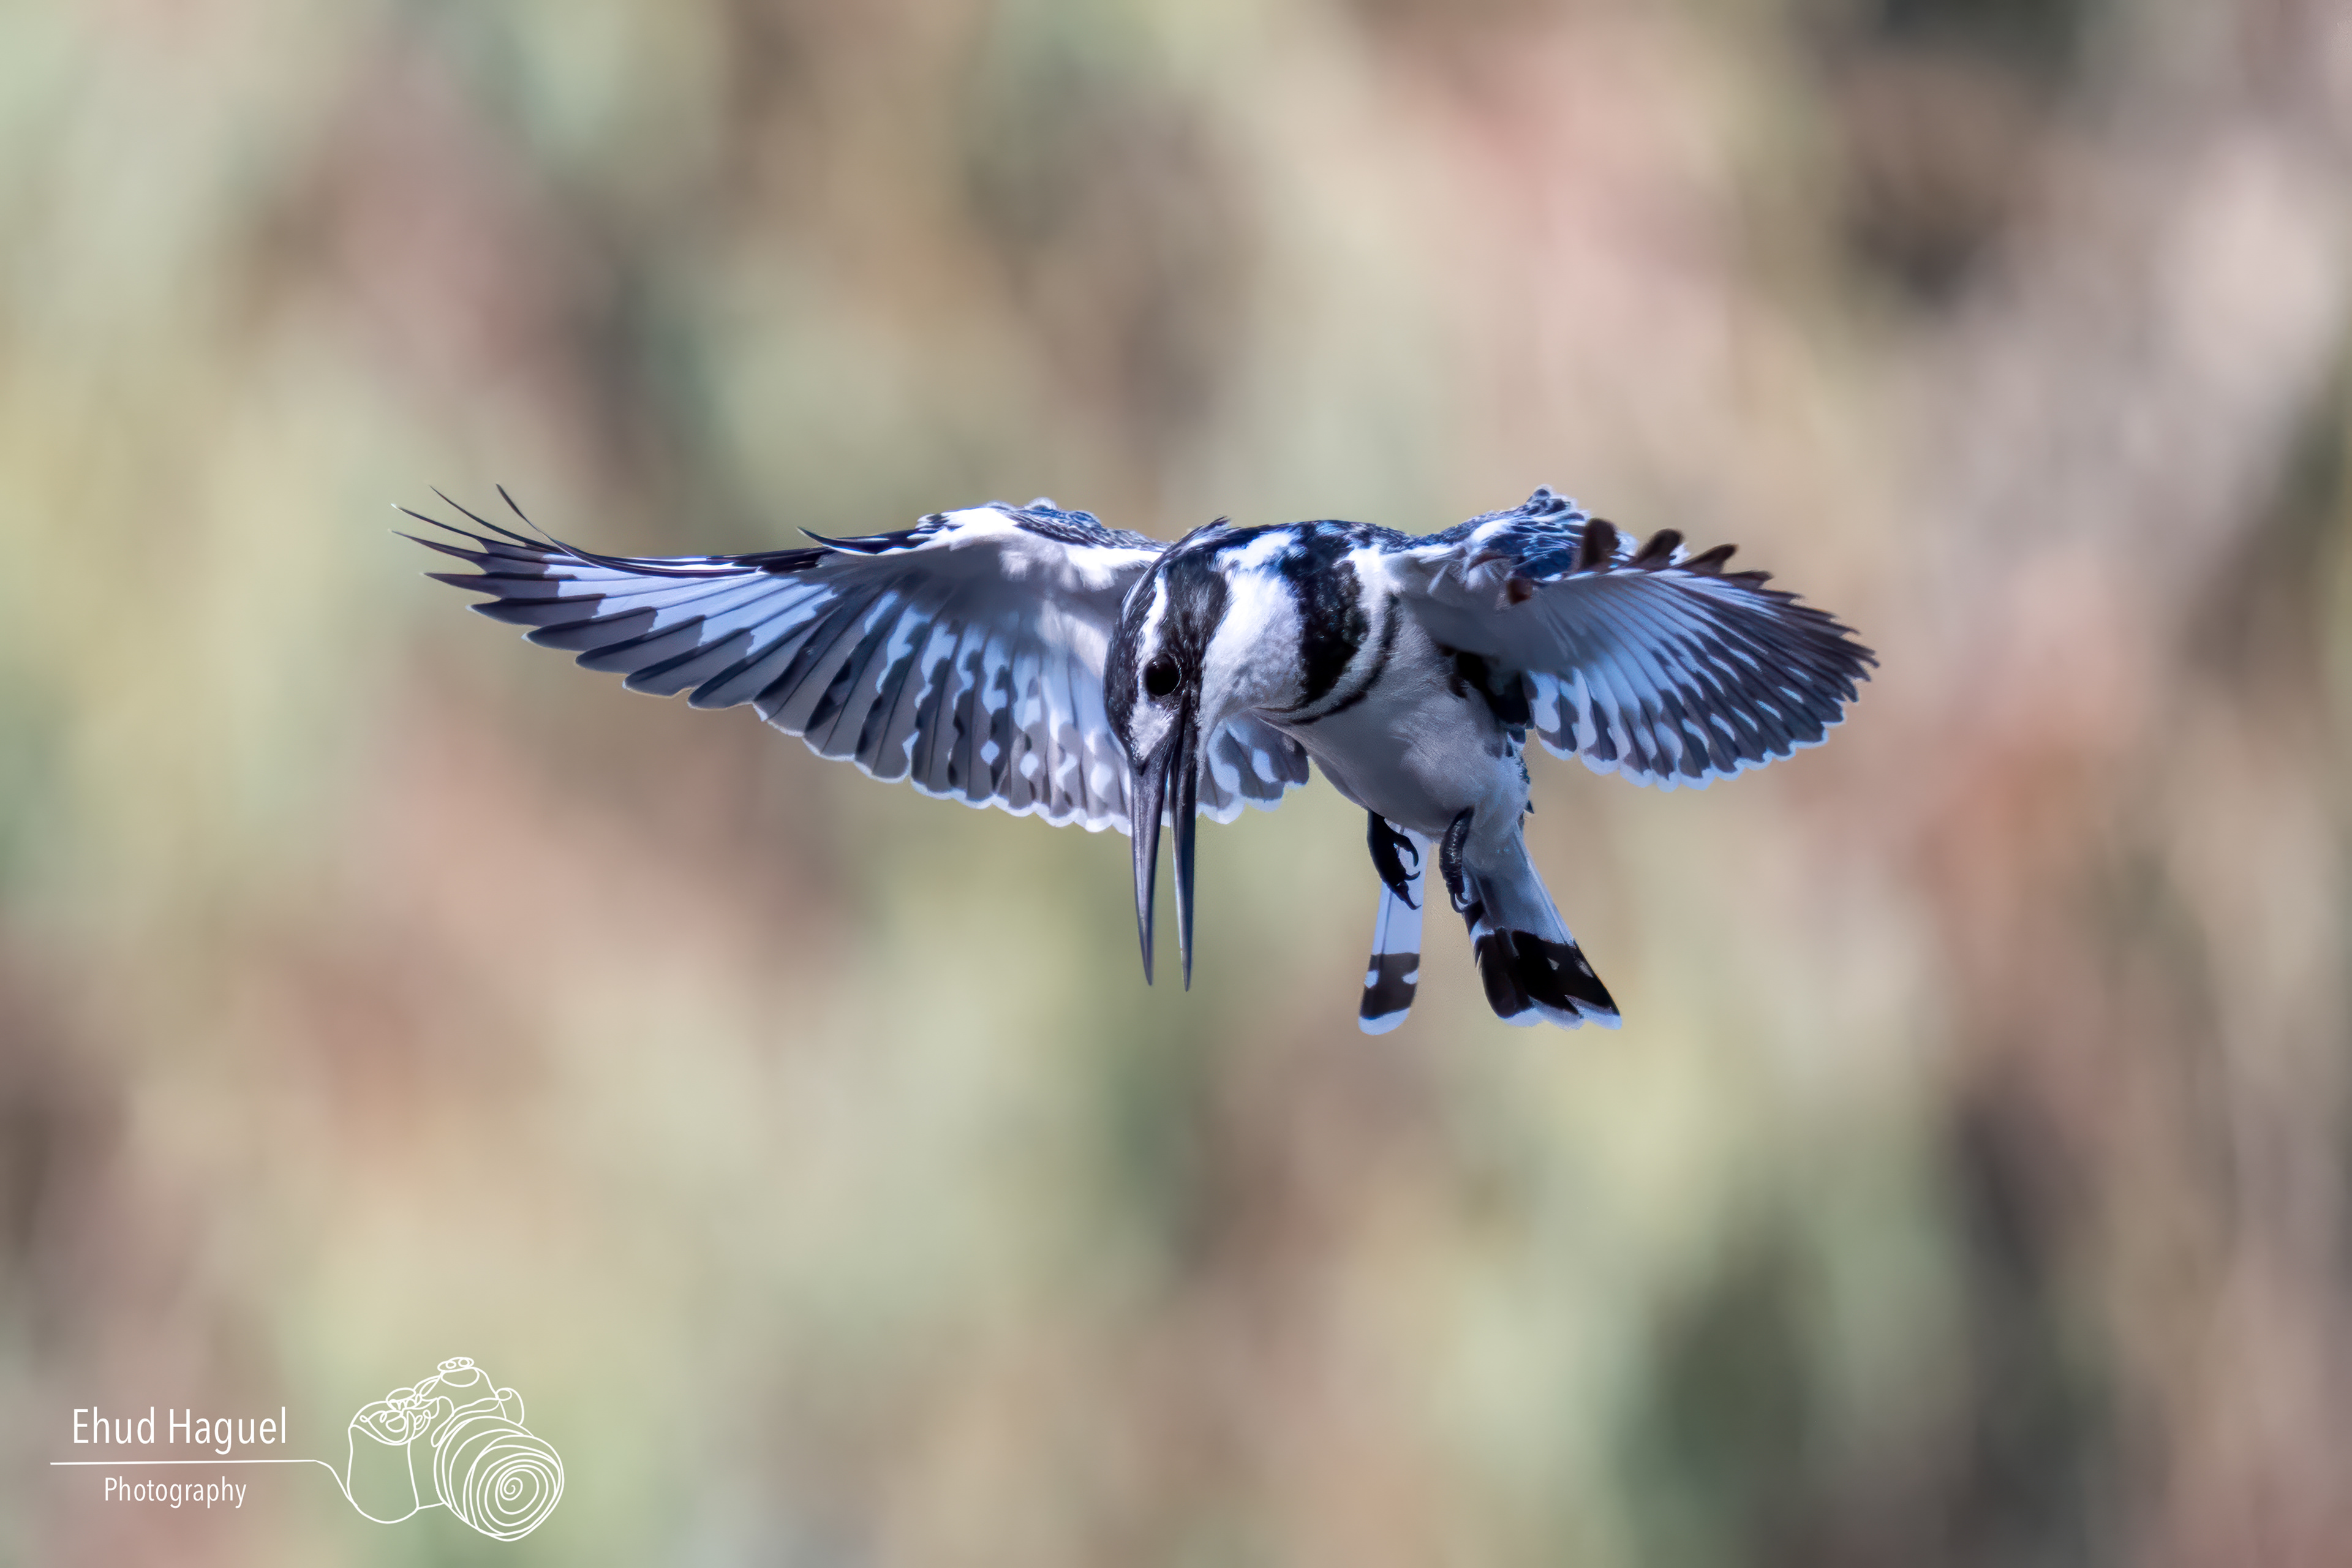
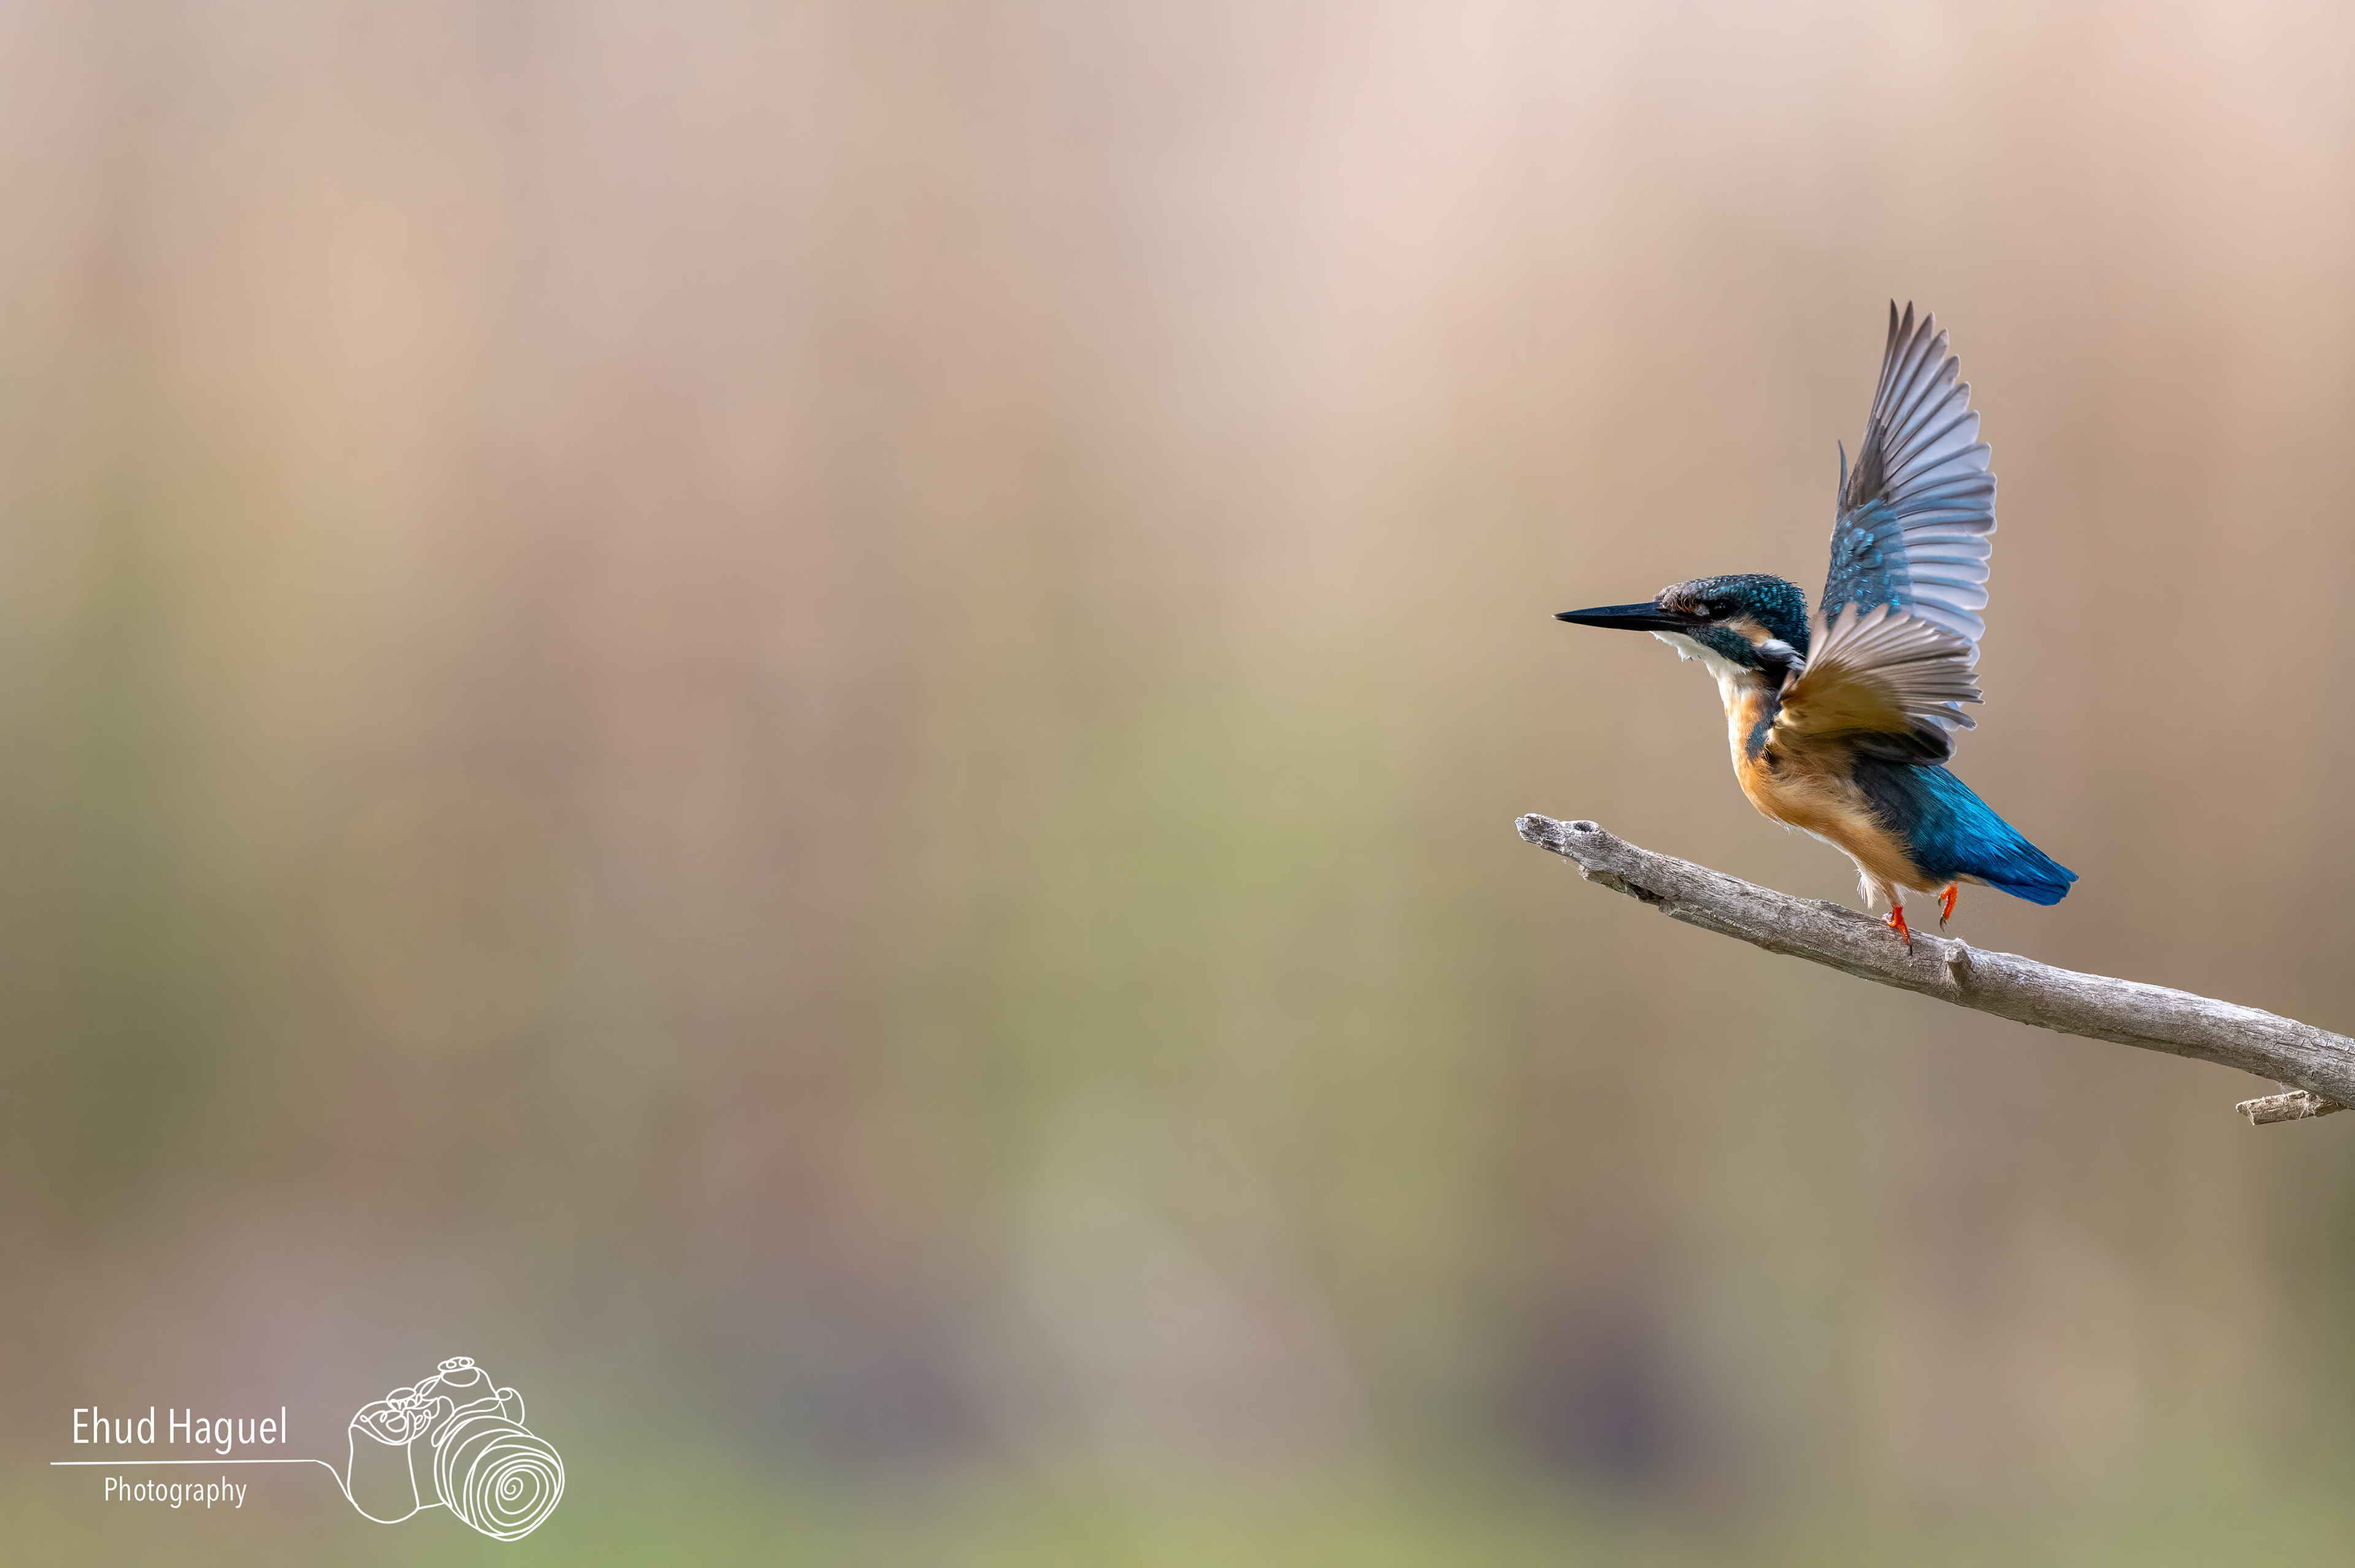
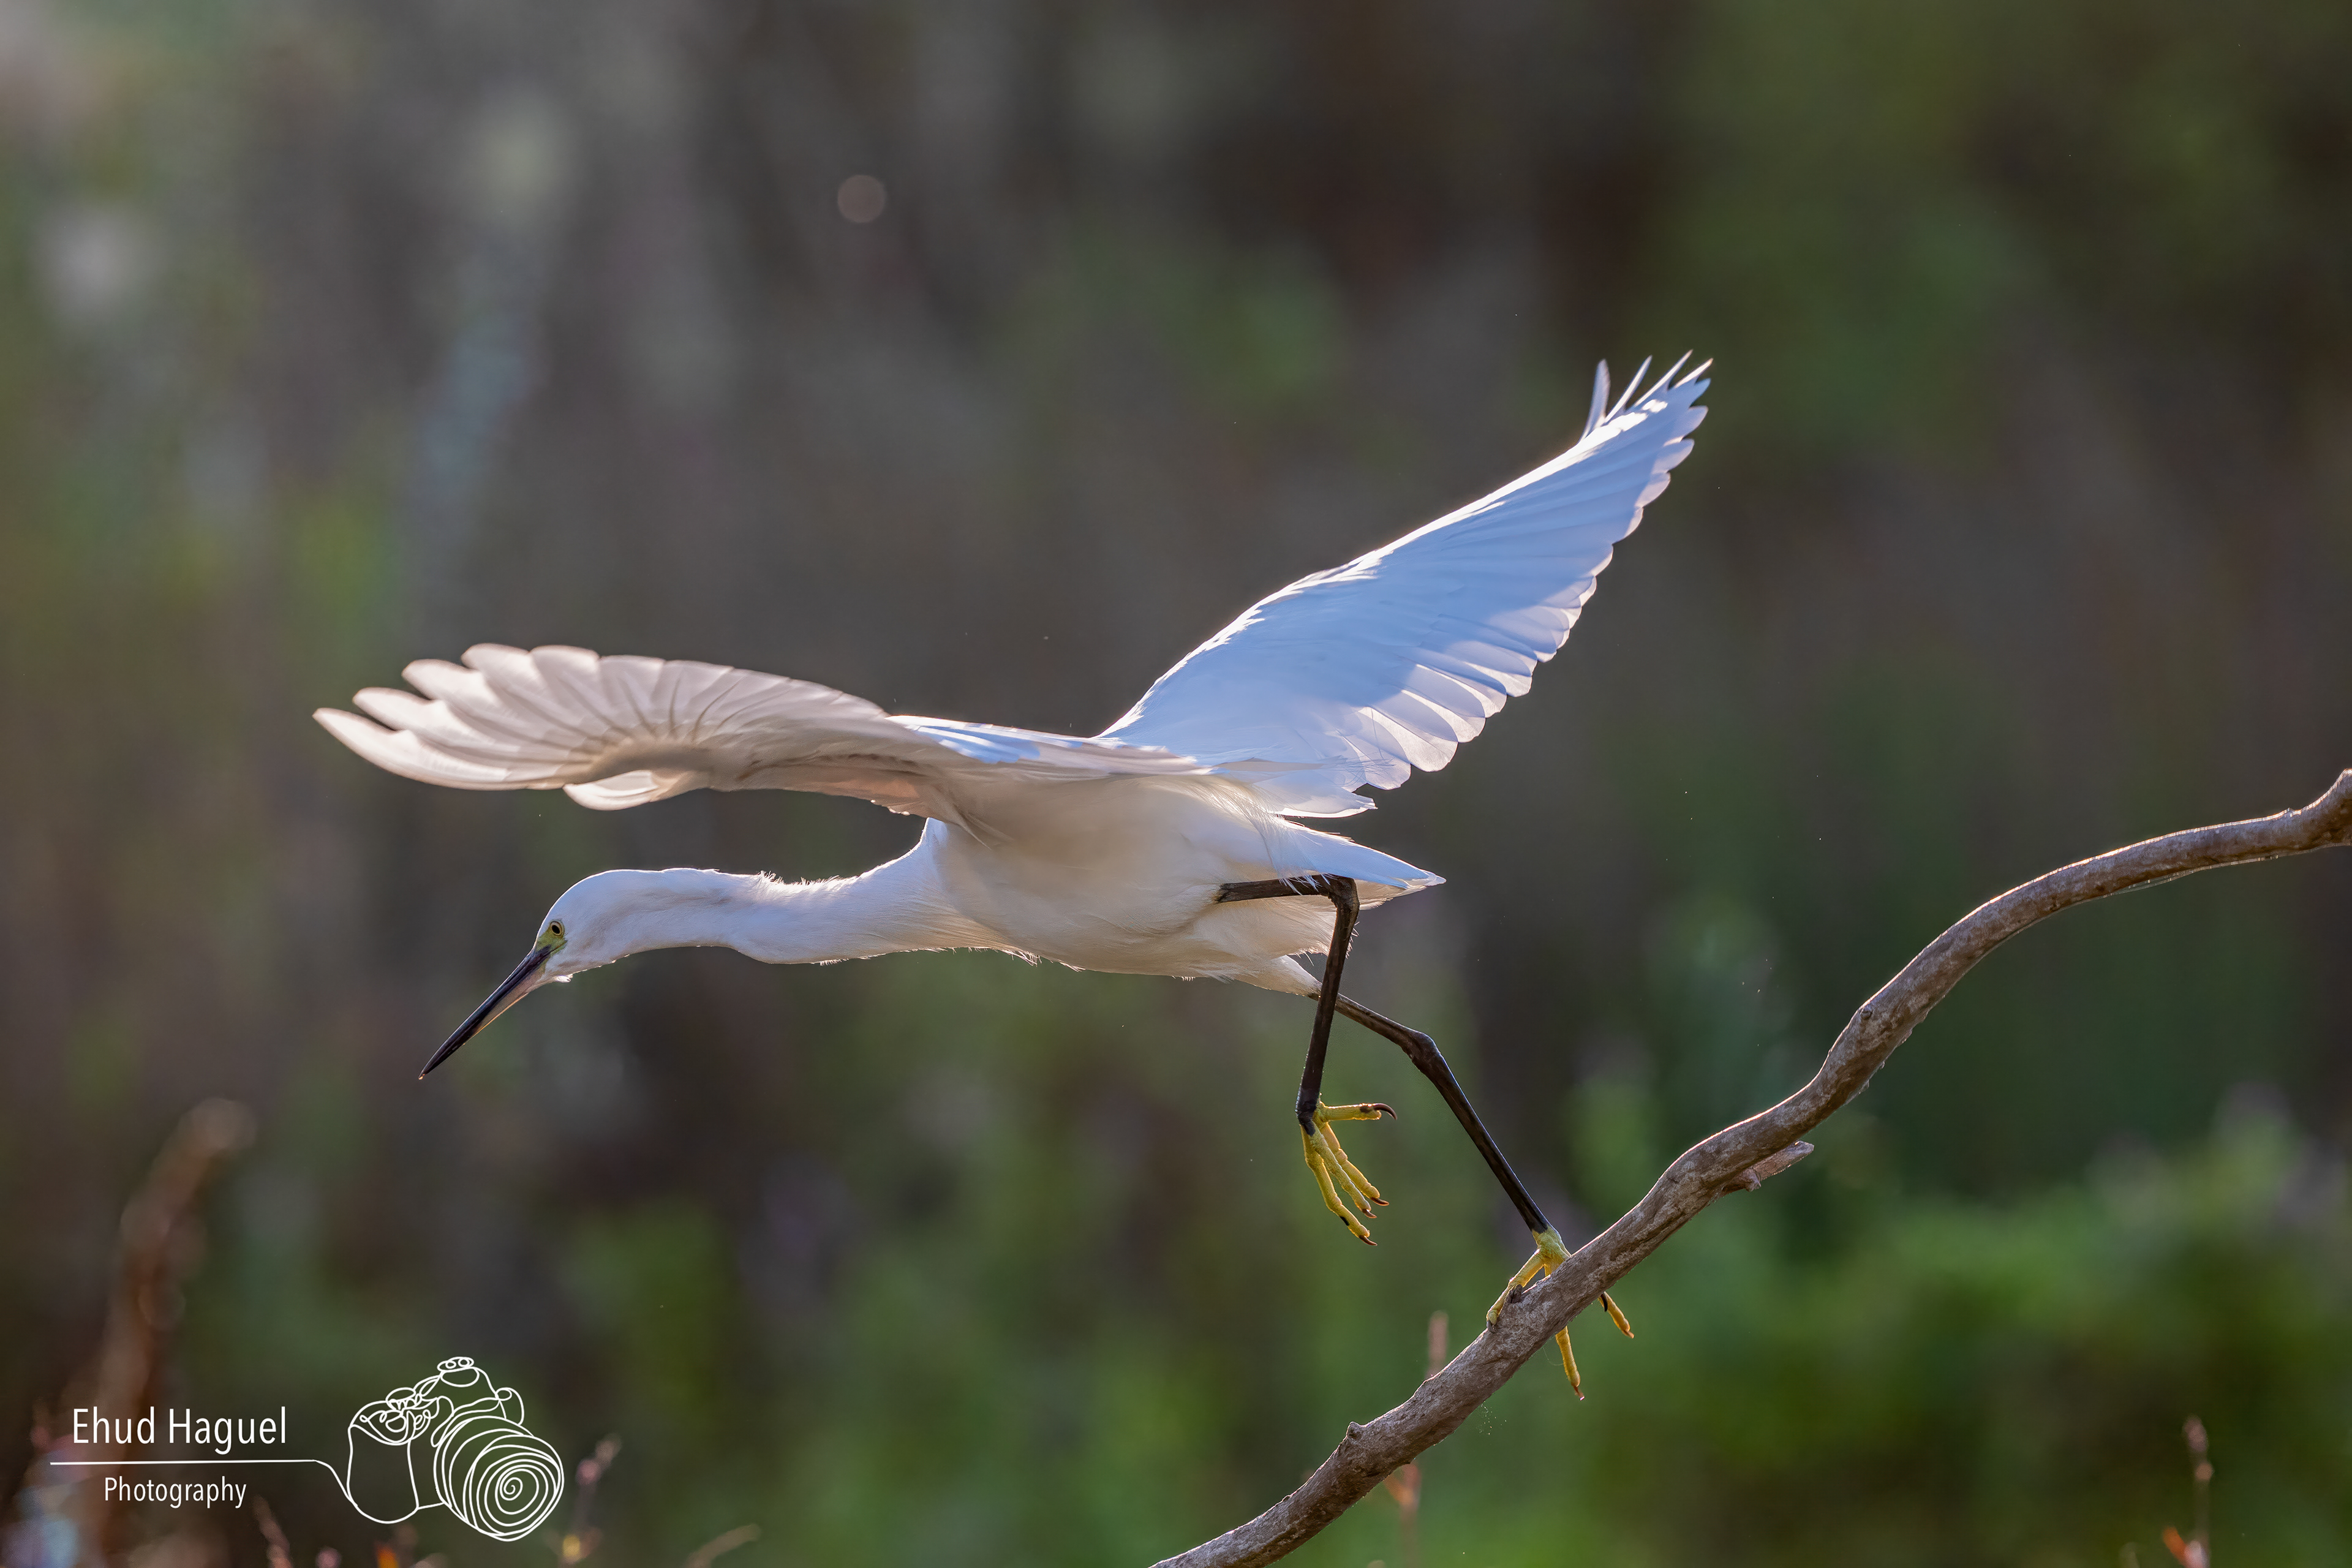
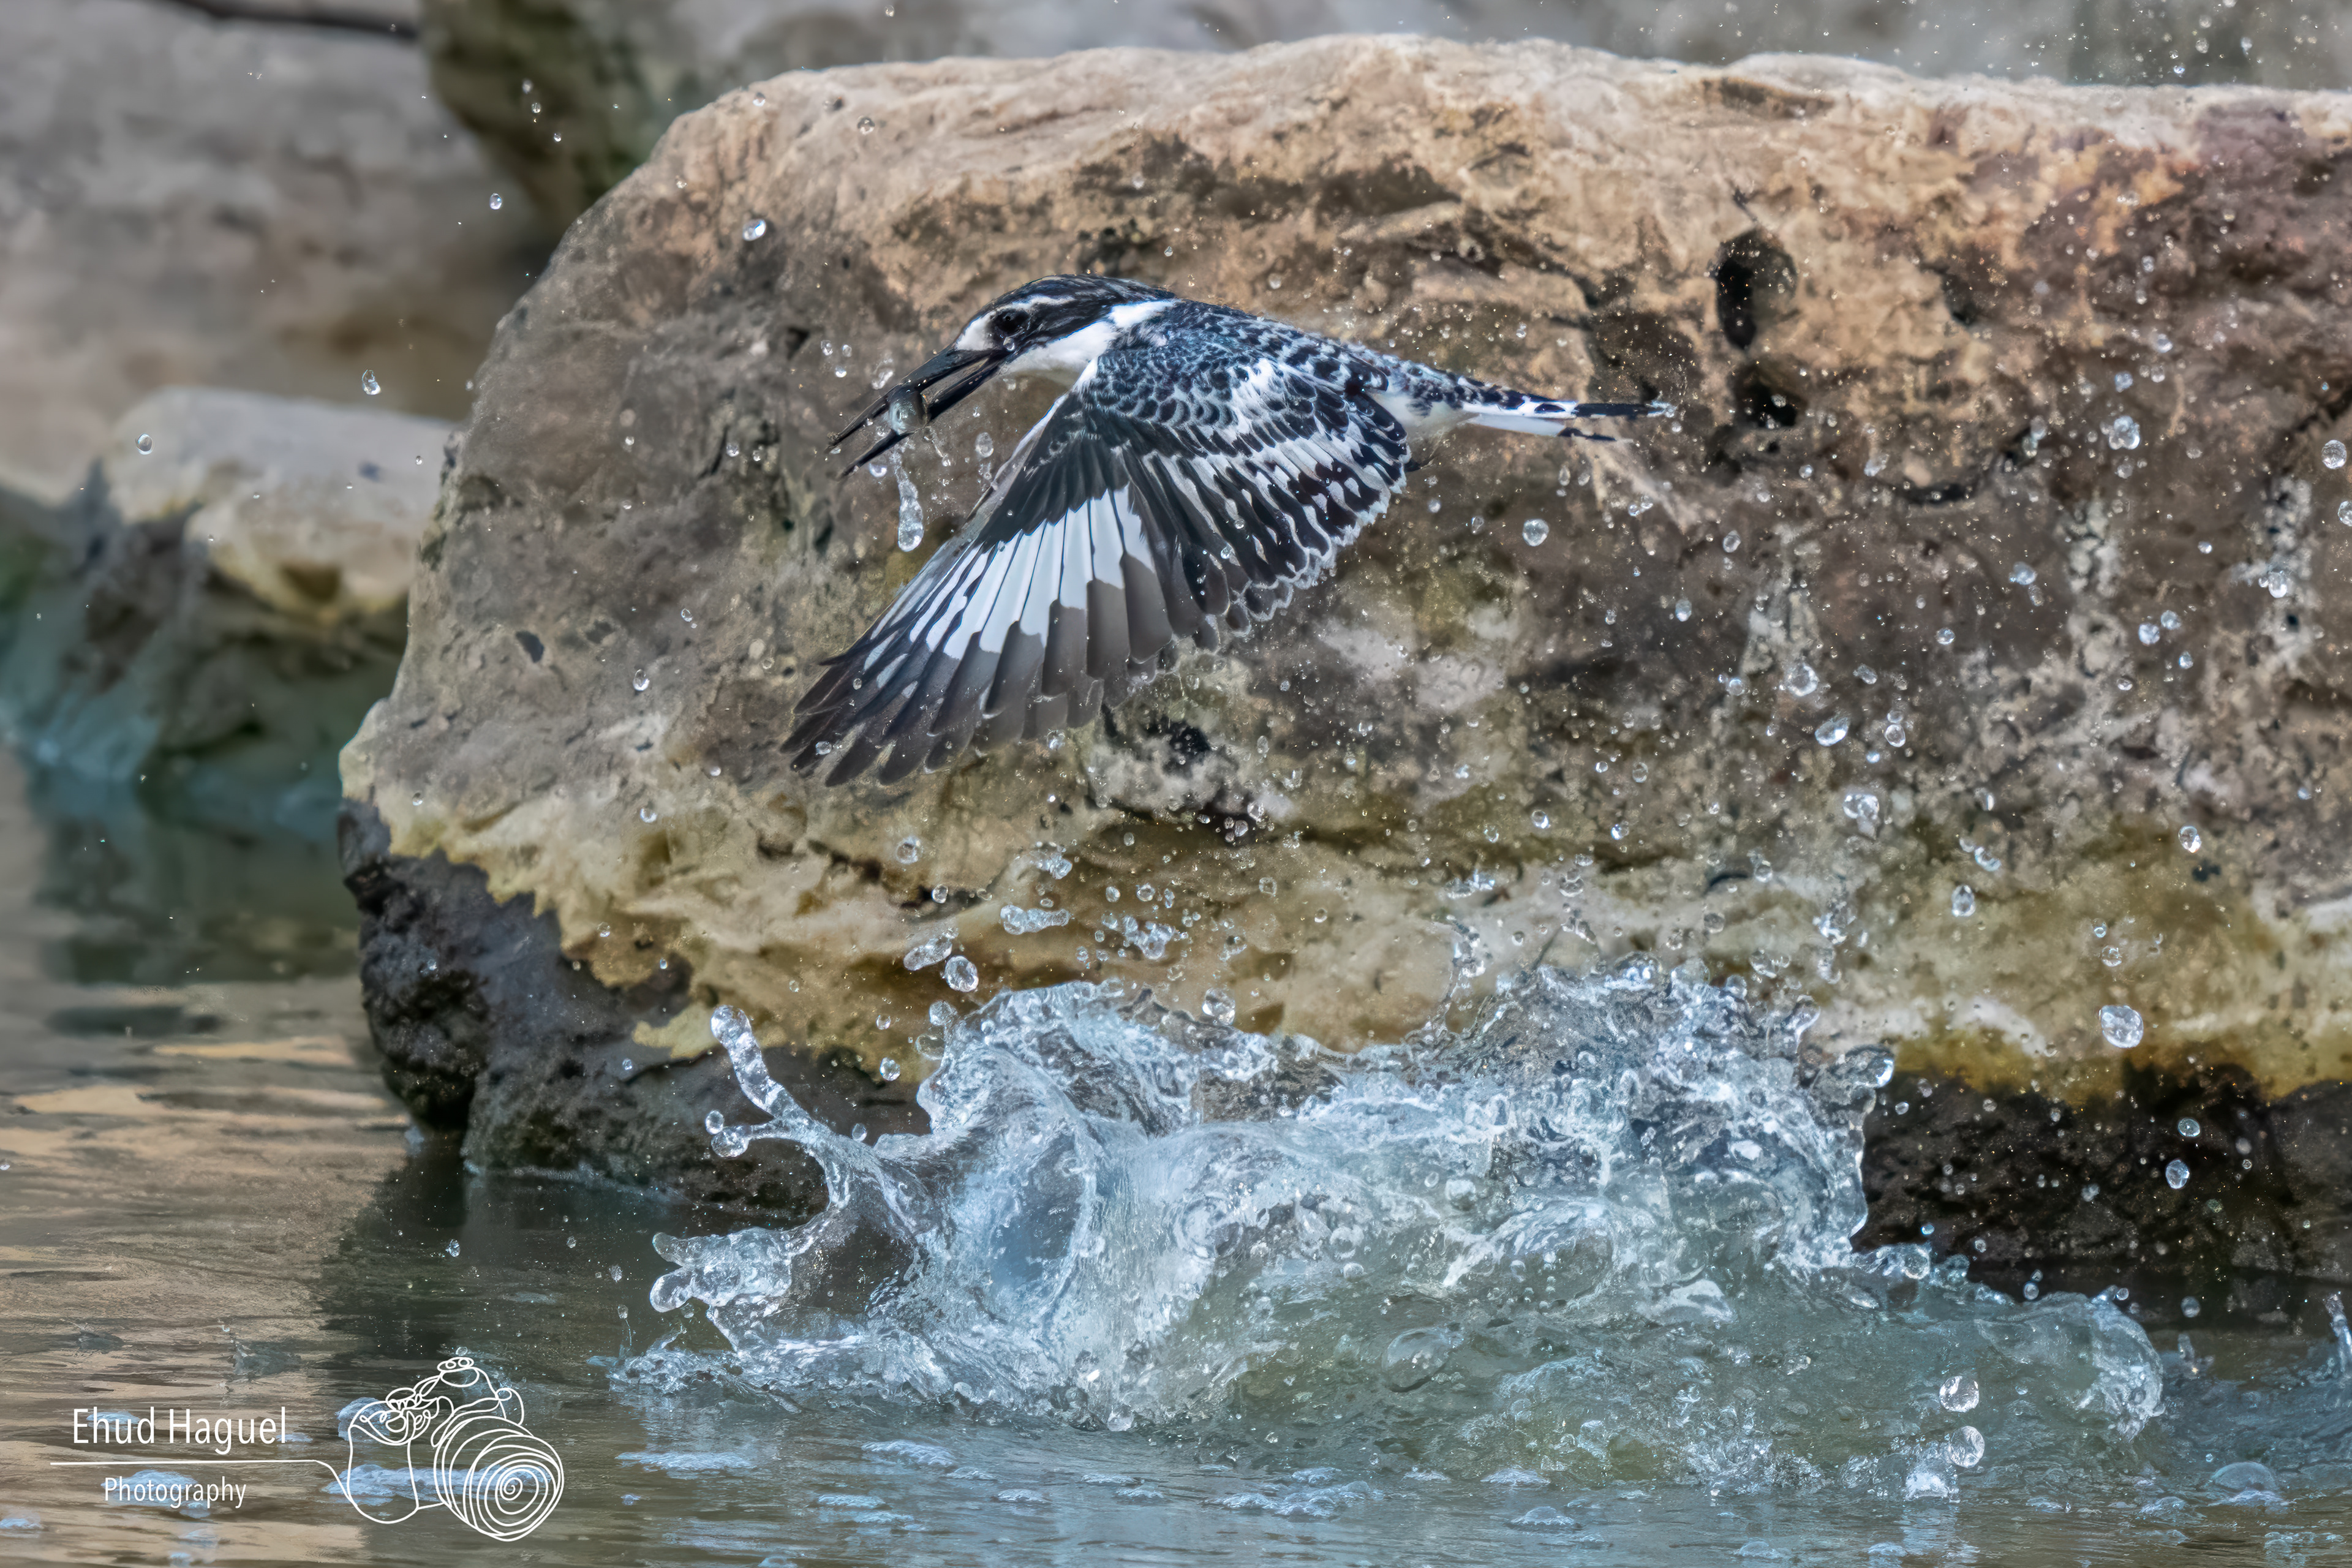
Every species has patterns. A kingfisher perched over water usually dives in a predictable direction. A heron about to launch almost always faces into the wind. Small passerines flick their tail feathers before takeoff. Waders feeding along a shoreline follow a rhythm that repeats. The more time you spend observing a specific species, the more accurately you can predict the next action — and the more time you have to prepare.
Pre-positioning is the practical result of reading behavior well. If you already know where the bird is likely to go, you can set your focus distance in advance, choose your angle relative to the light, and have your finger on the shutter before the action begins. Reacting to movement after it starts almost always means you are behind the moment.
II. Autofocus Strategy for Birds in Flight
Modern mirrorless autofocus systems are powerful, but they still require deliberate management to perform reliably in difficult conditions.
Subject Detection vs. Manual Zone Selection
Subject detection works well when the bird is large in the frame, against a clean background, and moving predictably. When the background is complex — trees, reeds, water with strong reflections — subject detection can lock onto the wrong element. In those situations, switching to a manually selected zone gives you more control over what the camera tracks.
Pre-focus and Acquisition Speed
The autofocus system acquires focus faster when it starts close to the correct distance. If you know a bird is going to cross a specific point — a gap in reeds, a perch it has used before, the edge of a body of water — pre-focus at that distance before the bird arrives. When it enters the frame, the system has far less work to do.
Tracking Through Background Changes
One of the most common failure points in flight photography is the camera losing the subject when it passes in front of a complex background. Train yourself to follow through these moments with smooth, consistent movement rather than pausing or adjusting. A hesitation in your panning almost always causes the autofocus to hunt.
AFC Settings on Panasonic
On the Panasonic Lumix S1RII, I use AFC with subject recognition set to Birds. The tracking sensitivity and zone size both affect how aggressively the system holds onto a moving subject. In open conditions I use a wider zone. In complex environments I narrow it down to reduce the chance of the system jumping to the background.
III. Shutter Speed, Wingbeat, and Motion
Shutter speed in bird photography is not just about freezing motion. It is about choosing which moment within the wingbeat to show.
A shutter speed of 1/2000 second or faster freezes the wing at whatever position it occupies at the moment of capture. Some positions are strong — the fully extended upstroke, the power stroke just before the downbeat — and some are not. At very fast speeds you have less control over which position you get, but you eliminate blur entirely.
At slightly slower speeds — 1/800 to 1/1200 second — wing tips may show some blur while the body remains sharp. Whether this reads as motion or as an error depends entirely on the subject and the composition. For large, slow-moving birds like herons or pelicans, a small amount of wing blur can feel natural. For small fast birds, it usually reads as a mistake.
The practical approach is to start fast — 1/2000 second or above — and only experiment with slower speeds once you have the clean frames secured.
IV. Panning and Body Mechanics
The physical mechanics of tracking a bird in flight affect sharpness as much as the autofocus system does. Jerky, reactive panning produces soft images even when the camera is doing everything right.
The key principles: start tracking before you press the shutter, pivot from the hips rather than the shoulders, and follow through after the burst rather than stopping abruptly. A smooth, consistent movement through the entire sequence is what keeps the subject sharp.
For a detailed breakdown of panning technique, settings, and practice methods, see Mastering Panning Photography.
V. Camera Settings
Shutter Speed
For birds in flight, 1/1000 second is the minimum starting point. For fast-moving species — waders, raptors in a stoop, small passerines — 1/2000 second or faster. In golden-hour light, push ISO rather than drop shutter speed.
ISO
Never sacrifice shutter speed to keep ISO low. The Panasonic Lumix S1RII handles ISO 3200 and above with noise that is manageable in post. A sharp image at ISO 6400 is always more useful than a soft one at ISO 800.
Aperture
For birds in flight, f/6.3 to f/8 gives enough depth of field to keep the subject sharp even when it moves slightly through the focal plane between frames. For perched birds where background separation matters more, f/4 to f/5.6 is usually the better choice.
Drive Mode
High-speed electronic shutter gives you the most frames per second, but mechanical or electronic first-curtain shutter can be more reliable in terms of autofocus consistency on some camera systems. Test your specific body to understand which performs better for your shooting style.
VI. Lenses I Use
My primary lenses for bird photography:
Sigma 300-600mm f/4 DG DN OS Sports — my most-used lens for bird photography. The constant f/4 aperture gives a significant light-gathering advantage, and the autofocus is fast enough to handle birds in active flight reliably. Combined with the 1.4x teleconverter it becomes an 840mm f/5.6 system that still focuses quickly.
Sigma 150-600mm f/5-6.3 DG DN OS Sports — my choice when I need a broader zoom range or want more flexibility for approaching subjects
Panasonic Lumix S PRO 70-200mm f/4 O.I.S. — a lighter option for sessions where reach matters less than portability or when the subject distance is shorter
Other lenses worth considering:
Sigma 60-600mm f/4.5-6.3 DG DN OS Sports — an exceptionally versatile zoom covering everything from medium telephoto to super-telephoto in a single lens; useful when you need flexibility across a wide focal length range without changing glass
Sigma 500mm f/5.6 DG DN OS Sports — a lighter prime option for reach without the weight of the larger zoom lenses
Panasonic Lumix S 100-500mm f/5-7.1 O.I.S. — a versatile super-telephoto zoom for L-mount users that covers a wide range without the weight of the larger Sigma options
Panasonic Lumix S PRO 70-200mm f/2.8 O.I.S. — the faster aperture version for demanding low-light conditions
Panasonic Lumix S PRO 70-300mm f/4.5-5.6 O.I.S. — a versatile zoom with extended reach for L-mount users
VII. Teleconverters
Teleconverters extend reach without the cost or weight of a longer prime lens. The trade-offs are a reduction in maximum aperture and, in some cases, a small reduction in autofocus speed.
My teleconverters:
Sigma TC-1411 1.4x Teleconverter — my primary teleconverter for the Sigma lenses; the autofocus remains fast enough for flight work
Sigma TC-2011 2x Teleconverter — for maximum reach when conditions allow a slower autofocus response
For Panasonic lenses:
Panasonic DMW-STC14 1.4x Teleconverter — designed for Panasonic S-series lenses
Panasonic DMW-STC20 2x Teleconverter — doubles the focal length while retaining autofocus capability
VIII. Support System
Tripods:
Leofoto LM-404C — my primary tripod for long fixed-position sessions with heavy telephoto lenses
Leofoto LS-362C — my mobile field tripod; 45kg load capacity at just 1.11kg
Heads:
Wimberley WH-200 Gimbal Head — my choice for tracking birds in flight; balances the lens around its center of gravity for fluid, fatigue-free movement over long sessions
Leofoto MH-60 Ball Head — for static shooting and vehicle-based photography
Leofoto WN-03 Car Window Stabilizer — paired with the MH-60 for shooting from inside the vehicle
IX. Scouting, Positioning, and Ethics
Pre-Visit Scouting
The best bird photography sessions usually begin before you arrive with a camera. Scouting a location in advance — even just walking it without shooting — tells you where birds feed, which perches they use repeatedly, where the light falls at different times of day, and where you can position yourself without being seen.
Look for natural perches near water: prominent branches overhanging a stream, low vegetation at the edge of a pond, exposed rocks along a shoreline, or fence posts at a field boundary. Birds return to the same spots repeatedly, and knowing these locations in advance means you can set up quietly before they arrive rather than reacting to them after.
Note the direction of the light at different times of day relative to these perches. A branch that is perfectly positioned for morning light may be backlit by afternoon. Planning your visit around the light — not just the subject — is one of the most consistent ways to improve results.
Positioning Without Disruption
Moving slowly and minimizing noise are the foundations of working near wildlife without altering its behavior. Approach from downwind where possible. Avoid direct eye contact with wary species. Use natural cover — vegetation, terrain, a vehicle — to break your outline rather than standing in the open.
The goal is not just to avoid flushing birds in the immediate moment. It is to leave the location in the same behavioral state you found it, so the birds continue their natural routine throughout your session and for the photographers who come after you.
If a bird shows signs of stress — alarm calls, raised feathers, freezing in place, moving away — back off. The shot is not worth a disrupted nest, an abandoned feeding site, or an animal that associates the location with threat.
Ethics in Bird Photography
Bird photography carries a responsibility that goes beyond following regulations. The welfare of the subject must always come before the image.
Never approach an active nest during the breeding season. Nest photography requires exceptional care, significant experience, and in many countries specific licensing. The presence of a photographer near a nest — even briefly — can cause parents to abandon eggs or chicks, or attract predators through the disturbance.
Do not use playback calls to attract birds in situations where it causes repeated or prolonged stress. Playback can be a legitimate tool when used carefully and briefly, but it is widely misused and can interfere with territorial behavior, breeding, and feeding patterns.
Do not share precise nest locations publicly. The combination of social media and GPS metadata has led to significant nest disturbance in well-photographed locations. If you find a nest, keep the location between trusted contacts only.
Leave the habitat exactly as you found it. Do not break branches, clear vegetation, or alter the environment to create a cleaner background or better angle. The photograph should adapt to the habitat, not the other way around.
X. Vehicle-Based and Hide Photography
Shooting from a Vehicle
A car makes an excellent mobile hide for bird photography. Many species show far less wariness toward a stationary vehicle than toward a person on foot. For vehicle-based work, I use the Leofoto WN-03 Car Window Stabilizer paired with the Leofoto MH-60 Ball Head for quick repositioning. A bean bag is another practical option — it conforms to the window frame and provides a stable, vibration-absorbing platform for long lenses without any setup time.
Shooting from a Hide
Fixed hides — whether commercial or improvised — often have shelves or ledges built into the shooting openings. In these situations, I usually prefer the Leofoto LS-362C over the heavier LM-404C. The smaller tripod sits cleanly on a ledge, is easier to reposition quietly within the confined space, and its compact folded length means it does not dominate the hide. The LM-404C is better suited to open ground work where its stability advantage is more relevant.
XI. The Decision Under Pressure
Advanced bird photography ultimately comes down to a single skill: making good decisions quickly, repeatedly, under conditions that are always changing.
Which angle gives the best light on this subject? Is the background clean enough from here? Should I wait for the bird to turn toward me or shoot now? Is the current wingbeat position worth a frame? These decisions happen in real time, and they cannot be made from a checklist. They come from hours of field time and honest review of what worked and what did not.
The goal is not to eliminate uncertainty. It is to reduce the time it takes to respond to it.
Bird photography is a long-term investment — in field time, in understanding behavior, and in developing the patience and decision-making speed the discipline demands. The technical foundation matters, but it is only the starting point.
For the foundational approach to bird photography, see Bird Photography. For the support system that makes long-lens work consistent and sustainable, see Leofoto Tripods for Wildlife Photography and Ball Head vs Gimbal for Wildlife Photography. For the full overview of the equipment I use, see My Photography Equipment.
Photographers looking for a current body suited to demanding bird and wildlife work may want to consider the Canon EOS R5 Mark II, Nikon Z8, Sony Alpha 7 V, Nikon Z6III, or the Sony Alpha 1 II — the Alpha 1 II in particular stands out for bird photography with its stacked sensor, 30fps burst rate, and subject tracking that remains reliable even in fast, unpredictable flight.
Leofoto Coupon Code: 12% Off with EH12
Use code EH12 at checkout on the Leofoto website to get 12% off Leofoto tripods, ball heads, monopods, and accessories. This Leofoto discount code is active and available to readers of this site.