Capturing the Enchanting Milky Way: A Guide to Stellar Night Sky Photography
The Milky Way is visible to anyone standing under a dark sky, but capturing it in a photograph that conveys what the eye and the imagination experience is a different challenge entirely. It requires planning, the right equipment, and enough technical understanding to make fast decisions in the dark. This is what I have learned about photographing our galaxy.
Location and Planning
Light pollution is the single biggest obstacle to Milky Way photography. Find locations well away from urban centers, such as remote countryside, national parks, or designated dark sky reserves. Smartphone apps and websites that display light pollution maps are essential planning tools.
Shoot on moonless nights, or when the moon is below the horizon. Even a thin crescent can reduce the visibility of faint stars and weaken the galactic core significantly.
Plan the timing and orientation of your shot in advance. Apps like PhotoPills or Stellarium can show you where the Milky Way will be at a given time and location, allowing you to align it with your foreground before you arrive.
Equipment
Camera
You need a camera with good high-ISO performance, full manual exposure control, and a sensor that can hold together well when pushed in dark conditions. I use the Panasonic Lumix S1RII. Its full-frame sensor handles the ISO levels Milky Way photography often requires while keeping noise manageable, and the high resolution gives me flexibility in composition and cropping when needed.
Wide-Angle Lens
A wide-angle lens with a bright aperture is ideal for Milky Way photography. In general, f/2.8 or wider gives you the greatest flexibility because it allows shorter exposures and lower ISO values.
In my own kit, I use the Panasonic Lumix S PRO 16-35mm f/4 for wider compositions and the Panasonic Lumix S PRO 24-70mm f/2.8 when the faster aperture matters more than the wider field of view, or when I want a tighter composition of the galactic core with a stronger foreground relationship. The 24-70mm f/2.8 gives a meaningful light-gathering advantage in dark conditions, which can translate to either cleaner files at the same ISO or the flexibility to use a lower ISO altogether.
Tripod
A stable tripod is non-negotiable. Long exposures, often in the 15 to 30 second range, will amplify even the slightest vibration. I use the Leofoto LM-404C for night sky work. It stays solid on uneven ground, handles wind well, and gives me the stability I need for repeatable long-exposure work.
Remote Shutter Release
A remote shutter release or intervalometer helps prevent camera shake when triggering the exposure. Even at long shutter speeds, pressing the shutter directly can introduce movement.
Red Light Headlamp
A headlamp with a red light mode is a practical necessity for night sky work. Red light preserves your night vision while you adjust settings, check focus, or review the screen between frames. White light, even briefly, can reset your eyes and make it harder to see the sky clearly. It is a small detail that makes a real difference over a long session.
Camera Settings
Manual Mode
Full manual control is necessary. Cameras cannot meter reliably in these conditions, and you need to make deliberate decisions about the balance between aperture, shutter speed, and ISO.
Image Stabilization
Turn off in-body image stabilization (IBIS) and any lens-based stabilization when shooting on a tripod. On modern cameras with powerful stabilization systems, leaving IBIS active during long exposures can actually introduce subtle movement as the system hunts and compensates unnecessarily. This shows up as smeared or elongated stars that are easy to miss on the rear LCD but immediately visible at full resolution. When the camera is on a solid tripod, stabilization has nothing useful to do — switching it off removes a variable that can only cause problems.
Aperture
Set the lens to its widest usable aperture. If you are working with an f/2.8 lens, shooting wide open is often the best starting point. With an f/4 lens, you may need to compensate with a slightly higher ISO or longer exposure time.
Shutter Speed
Use exposures of roughly 15 to 30 seconds as a starting point. The right value depends on focal length, sensor resolution, and how much star movement you are willing to tolerate. The 500 Rule is a useful quick reference, but the NPF Rule is usually more accurate for modern high-resolution cameras.
ISO
Start around ISO 3200 and adjust from there. Higher ISO values brighten the stars and the galactic core, but they also increase noise. The goal is not simply to brighten the file, but to find the cleanest balance for your specific camera and lens combination.
Focus
Switch to manual focus. Use live view, magnify the brightest star you can find, and adjust until it appears as small and sharp as possible. Do not trust the infinity mark on the lens barrel blindly. In the dark, small focus errors are easy to miss and difficult to fix later.
A green laser pointer can also be helpful for confirming direction or composition under dark skies, but it should be used with extreme care and only where it is legal and safe to do so. Never use it near aircraft, roads, or other people, and avoid relying on it as a primary focusing method. In most cases, live view magnification on a bright star remains the safer and more reliable option.
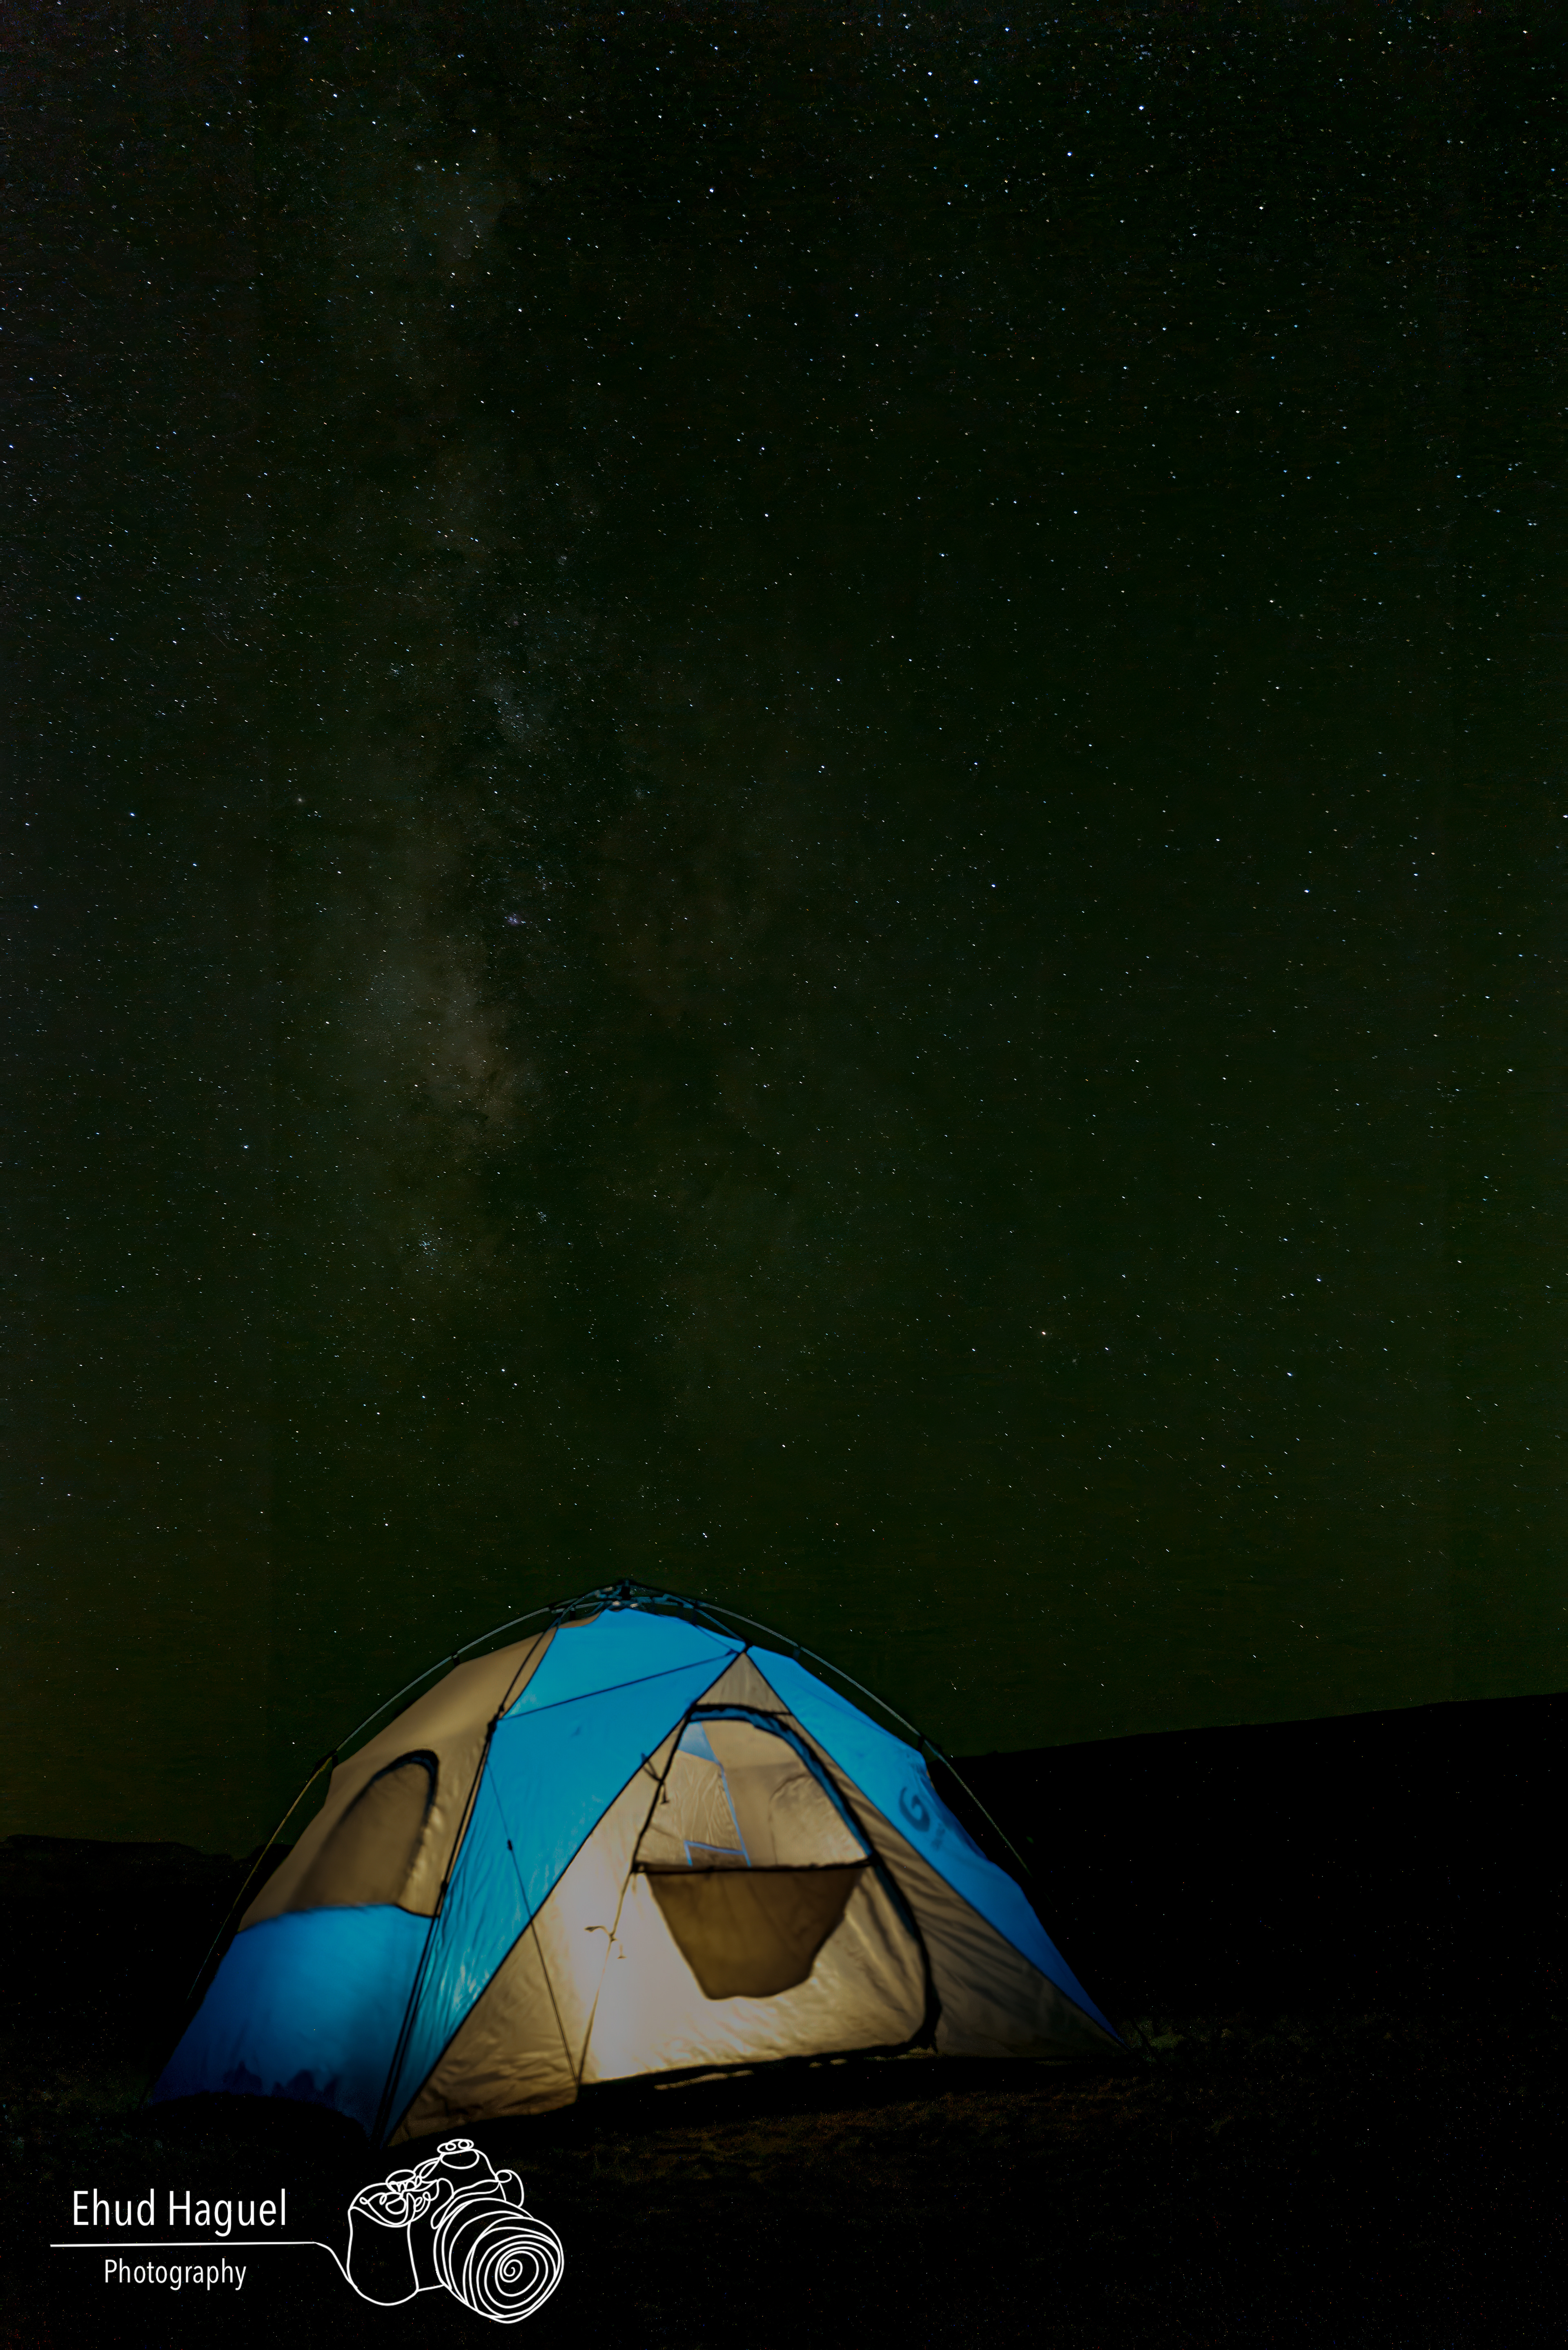
Composition and Foreground
Foreground elements are what elevate a Milky Way image from a technical record to a photograph. Trees, rock formations, water, ruins, roads, or silhouettes can all add scale and context.
A strong foreground gives the sky something to relate to. Without it, even a technically correct Milky Way image can feel flat. I usually avoid centering the galactic core by default and instead place it in relation to the land in a way that feels balanced and intentional.
Long Exposures and Noise
Long exposures introduce noise, especially in darker areas of the frame. In-camera long exposure noise reduction can help for single-image work, but it also doubles the time between frames because the camera records a second dark frame.
If you are shooting a single composition, that tradeoff can be worth it. If you are capturing multiple frames for stacking, it usually makes more sense to turn it off and handle noise reduction later in post-processing.
Always test a few combinations of exposure time and ISO before committing to a full sequence. What looks acceptable on the rear LCD can look very different on a larger screen.
Post-Processing
RAW Format
Shoot in RAW. Night sky photography depends heavily on post-processing, and RAW files preserve far more information for exposure, white balance, contrast, and noise reduction adjustments.
Exposure and Contrast
The Milky Way core usually contains much more detail than appears at first glance. Careful exposure and contrast adjustments can reveal structure, dust lanes, and tonal separation without making the image feel artificial.
Noise Reduction
Apply noise reduction carefully, especially in the sky. Too much will smear star detail and make the image look soft. I prefer selective adjustments that reduce noise without flattening the structure of the galaxy.
White Balance
White balance has a major effect on mood. Cooler settings can make the image feel dramatic, but the core often looks more natural with a slightly warmer balance.
Detail Enhancement
Sharpening and clarity should be used with restraint. The goal is to enhance the image, not to force it into a brittle or artificial look.
Final Thoughts
Milky Way photography demands planning, technical control, and a willingness to work in uncomfortable places at inconvenient hours. When the conditions align and the technique is right, the result is something the eye alone never fully sees. The camera, the exposure, and the processing together reveal a version of the sky that most people never experience.
For the closely related technique of star trail photography, see Capturing Mesmerizing Star Trails. For compositional thinking that applies just as much to night sky work, see The Art of Composition in Photography. For the exposure fundamentals behind these decisions, see The Exposure Triangle.
Photographers looking for a current full-frame body suited to this kind of work may want to consider the Sony A7 V, Canon EOS R5 Mark II, Nikon Z6 III, Nikon Z8, or Panasonic Lumix S1RII.
Leofoto Coupon Code: 12% Off with EH12
Use code EH12 at checkout on the Leofoto website to get 12% off Leofoto tripods, ball heads, monopods, and accessories. This Leofoto discount code is active and available to readers of this site.