Painting the Night Sky: A Guide to Capturing Mesmerizing Star Trails
Star trail photography is one of the most visually striking things you can do with a camera on a tripod. The trails themselves are simple physics — the Earth rotates, the stars appear to move, and a long enough exposure records that movement as arcs of light across the sky. What makes a great star trail image, in my experience, is everything that surrounds that physics: location, planning, composition, and patience.
Location and Planning
Dark Sky Areas
Light pollution is the primary enemy of night sky photography. Seek out locations well away from urban centers — remote countryside, national parks, or designated dark sky reserves. The difference between shooting under a dark sky and shooting near a city is not subtle. It is the difference between trails and haze.
Composition
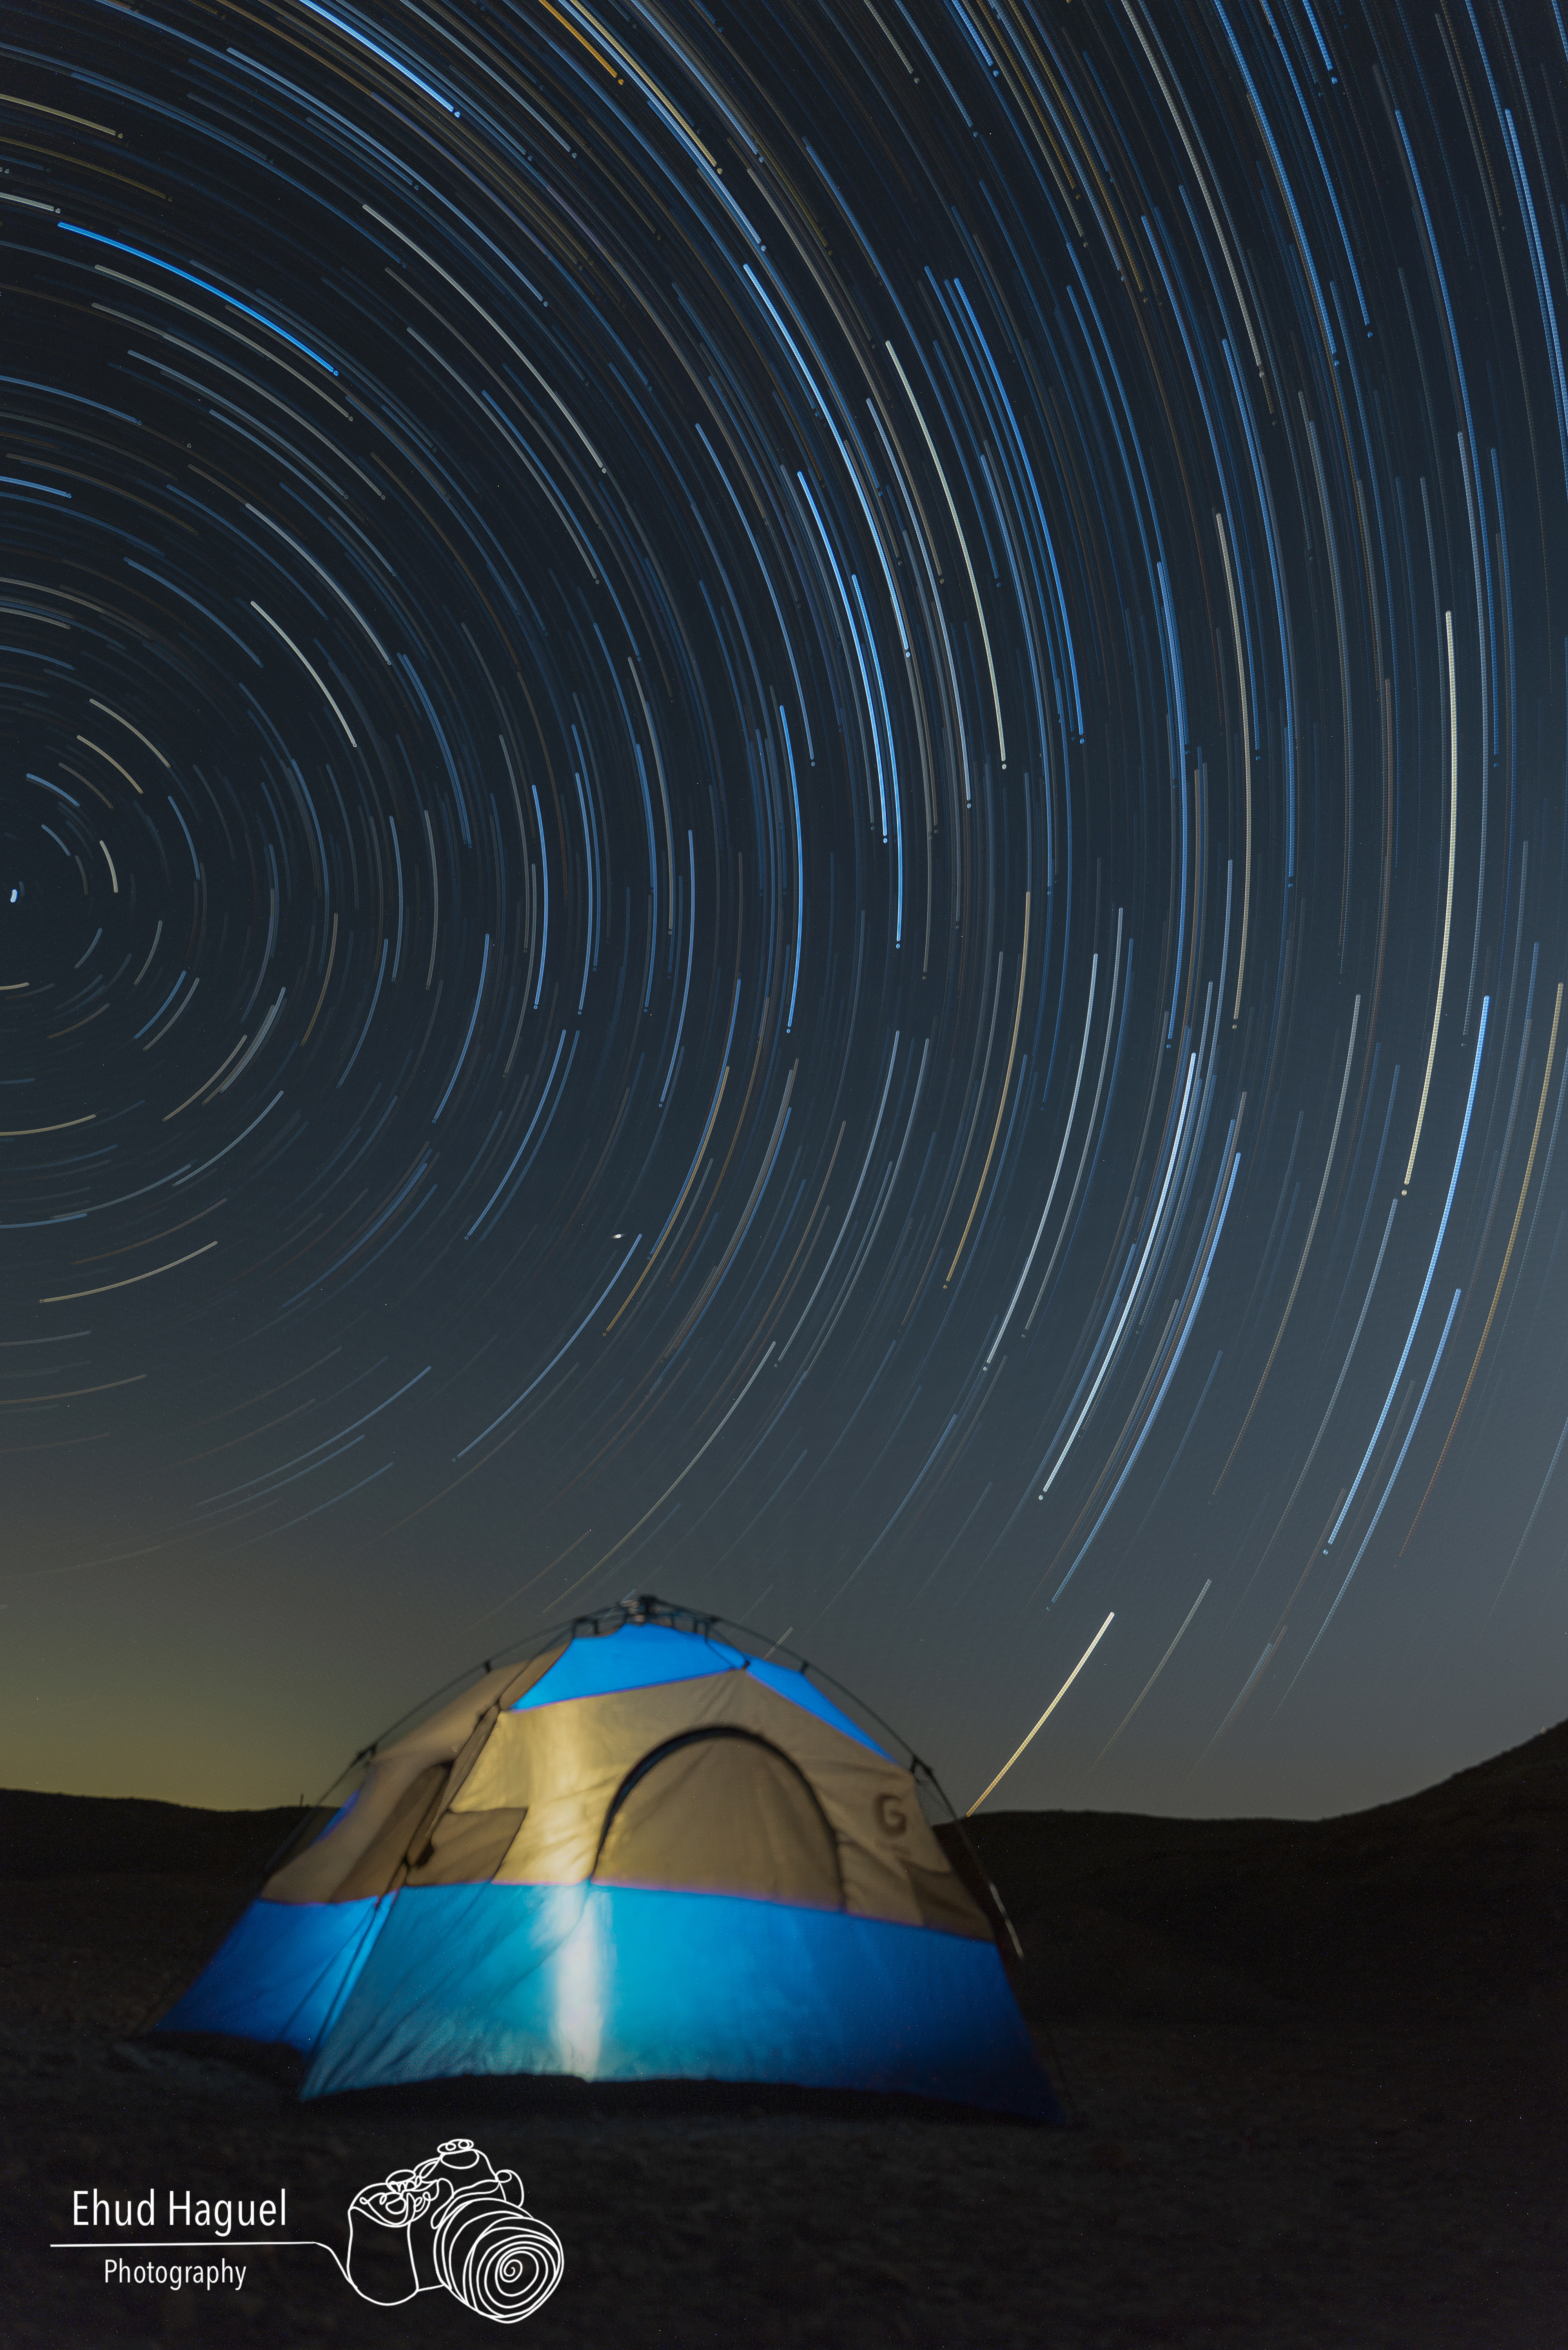
A star trail image without a strong foreground is just a technical exercise. Include a landscape element, a silhouette, or an architectural feature that gives the viewer context and scale. Plan your composition in advance — align foreground elements with the anticipated arc of the stars and consider the direction of the trails based on your orientation relative to the celestial poles.
Weather
Check the forecast for clear skies. Some cloud movement can add atmosphere, but heavy cloud cover will block the stars entirely. The best star trail nights are cold, still, and clear.
Moon Phase
Shoot on moonless nights or when the moon is below the horizon. Even a partial moon introduces enough ambient light to wash out faint stars and reduce the contrast of the trails.
Equipment
Camera
You need a camera capable of long exposures, full manual control, and good low-light performance. A full-frame sensor captures more light and produces cleaner results at high ISO. I use the Panasonic Lumix S1RII for night sky work — the sensor handles long exposures cleanly and gives me the resolution to process and crop without losing trail detail.
Lens Choice
A wide-angle lens with a low aperture — f/2.8 or wider — maximizes the amount of light reaching the sensor and allows shorter exposures for the stacking method. I use the Panasonic Lumix S PRO 16-35mm f/4 for broader scenes and the Panasonic Lumix S PRO 50mm f/1.4 when I want a tighter, more intimate composition.
Tripod
Absolute stability for the full duration of the shoot — which can run from 30 minutes to several hours. I use a Leofoto LM-404C for this type of work. Its carbon construction minimizes vibration and its load capacity handles any lens I put on it without flex. Star trail photography is exactly the situation where a compromised tripod shows its weakness.
Remote Shutter Release or Intervalometer
An intervalometer allows you to set the exposure duration, interval between frames, and number of frames automatically. This is essential for the stacking method, where you need consistent, back-to-back exposures without touching the camera.
Red Light Headlamp
A headlamp with a red light mode is a practical necessity for night sky work. Red light preserves your night vision while you adjust settings, check focus, or review the screen between frames. White light, even briefly, can reset your eyes and make it harder to see the sky clearly. It is a small detail that makes a real difference over a long session.
Alignment Aid
A green laser pointer can be helpful for confirming the direction of the trails or aligning your composition under dark skies, but it should be used with extreme care and only where it is legal and safe to do so. Never use it near aircraft, roads, or other people. In most cases, live view magnification on a bright star remains the safer and more reliable option for focus.
Camera Settings
• Manual Mode: Full control over all settings is necessary. The camera's metering system is not equipped to handle night sky conditions reliably.
• Image Stabilization: Turn off in-body image stabilization (IBIS) and any lens-based stabilization when shooting on a tripod. In star trail photography — where sessions can run for hours — active IBIS can introduce subtle movement that shows up as slightly elongated or smeared stars across hundreds of frames. When the camera is locked on a solid tripod, stabilization serves no useful purpose and should be switched off entirely.
• Aperture: Set the lens to its widest aperture to gather as much light as possible. This allows shorter individual exposures when using the stacking method.
• Shutter Speed: Determine the length of trails you want and the technique you are using. For the stacking method, 30 seconds to a few minutes per frame is typical. For a single long exposure, the duration determines the length of the trails.
• ISO: A moderate to high ISO — typically ISO 800 to ISO 3200 — is necessary to capture enough light and detail in each frame. Test different values to find the optimal balance between trail brightness and noise for your specific camera.
• Focus: Switch to manual focus and set to infinity. Use live view, zoom in on a bright star, and adjust until it is as sharp as possible. Lock focus before the session begins — do not rely on autofocus in the dark.
Two Primary Techniques
Multiple Exposures (Stacking)
Take a series of shorter exposures — 30 seconds to a few minutes each — and combine them during post-processing using stacking software. This method gives more flexibility with foreground exposure, reduces noise through averaging, and allows you to remove satellite trails or aircraft lights from individual frames before combining.
Bulb Mode (Single Long Exposure)
A single exposure covering the full duration of the session. This produces continuous, unbroken trails and a simpler workflow, but gives you less control over the final result and can accumulate significant noise over very long exposures.
I prefer the stacking method for most star trail work — the flexibility in post is worth the additional processing time.
Post-Processing
Stacking Software
Dedicated stacking software aligns and combines multiple exposures automatically. StarStaX, Sequator, and Adobe Photoshop are all capable options. The result is smoother, more defined trails with less noise than a single long exposure.
Noise Reduction
Apply noise reduction to the final stacked image. Selective noise reduction — targeting the sky separately from the foreground — preserves detail where it matters.
Adjustments
Adjust exposure, contrast, and color balance to bring out the trails and the atmosphere of the scene. Star trail images often benefit from careful handling of the foreground, which may need separate treatment from the sky.
Creative Editing
Star trail photography rewards creative post-processing. Experiment with the look of the trails — their color, their contrast against the sky, the relationship between the arcs and the foreground. The technical capture is the foundation; the processing is where the image becomes a photograph.
Star trail photography requires planning, patience, and a willingness to spend significant time in the dark waiting for results you will not see until you are back at the computer. When the conditions are right and the technique is sound, the results justify all of it.
For Milky Way photography — a closely related discipline with different exposure priorities — see Capturing the Enchanting Milky Way. For the exposure fundamentals that underpin both, see The Exposure Triangle.
Photographers looking for a full-frame body suited to serious night sky work may want to consider the Sony A7 V, Canon EOS R5 Mark II, Nikon Z8, or Panasonic Lumix S1RII — all capable platforms for high-ISO, long-exposure photography.
Leofoto Coupon Code: 12% Off with EH12
Use code EH12 at checkout on the Leofoto website to get 12% off Leofoto tripods, ball heads, monopods, and accessories. This Leofoto discount code is active and available to readers of this site.